How to deploy a NextJS project to Vercel

Oscar de la Hera Gomez
Two flowers that represents NextJS and Vercel side by side with the text "Deploy NextJS app to Vercel” beneath it.

A step by step guide for deploying a NextJS app to Vercel.

Step One: Create a NextJS Project

A screenshot of Chrome showing the NextJS project running locally on localhost:3000.

Skip this step if you already have a NextJS project ready to deploy.

Please note that your NextJS project must be hosted on a Git Provider.

Step Two: Create a Vercel Account

A screenshot of the Vercel account creation page.

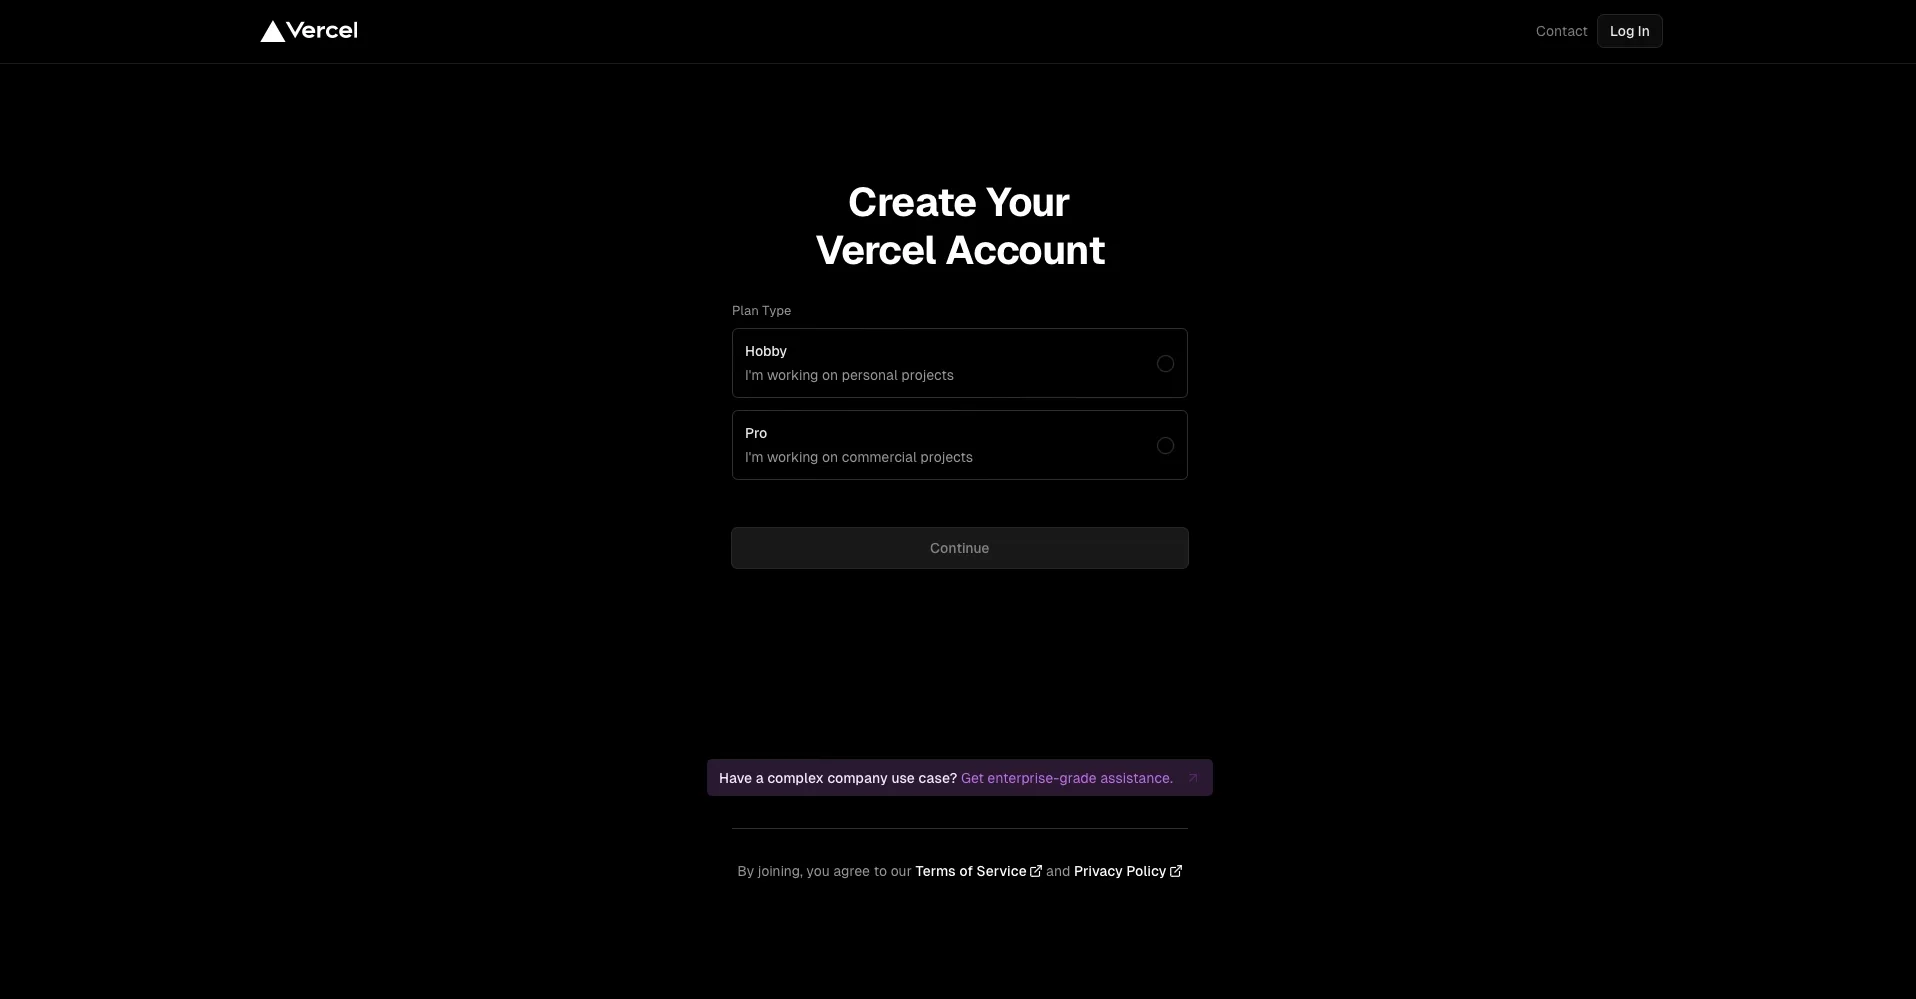
If you already have a Vercel account, login to your Vercel account.

To learn about the differences between a Pro and a Hobby plan, consult the link below.

A screenshot of Vercel's create account flow where it asks you to connect to a git provider. The options are Github, GitLab and BitBucket.

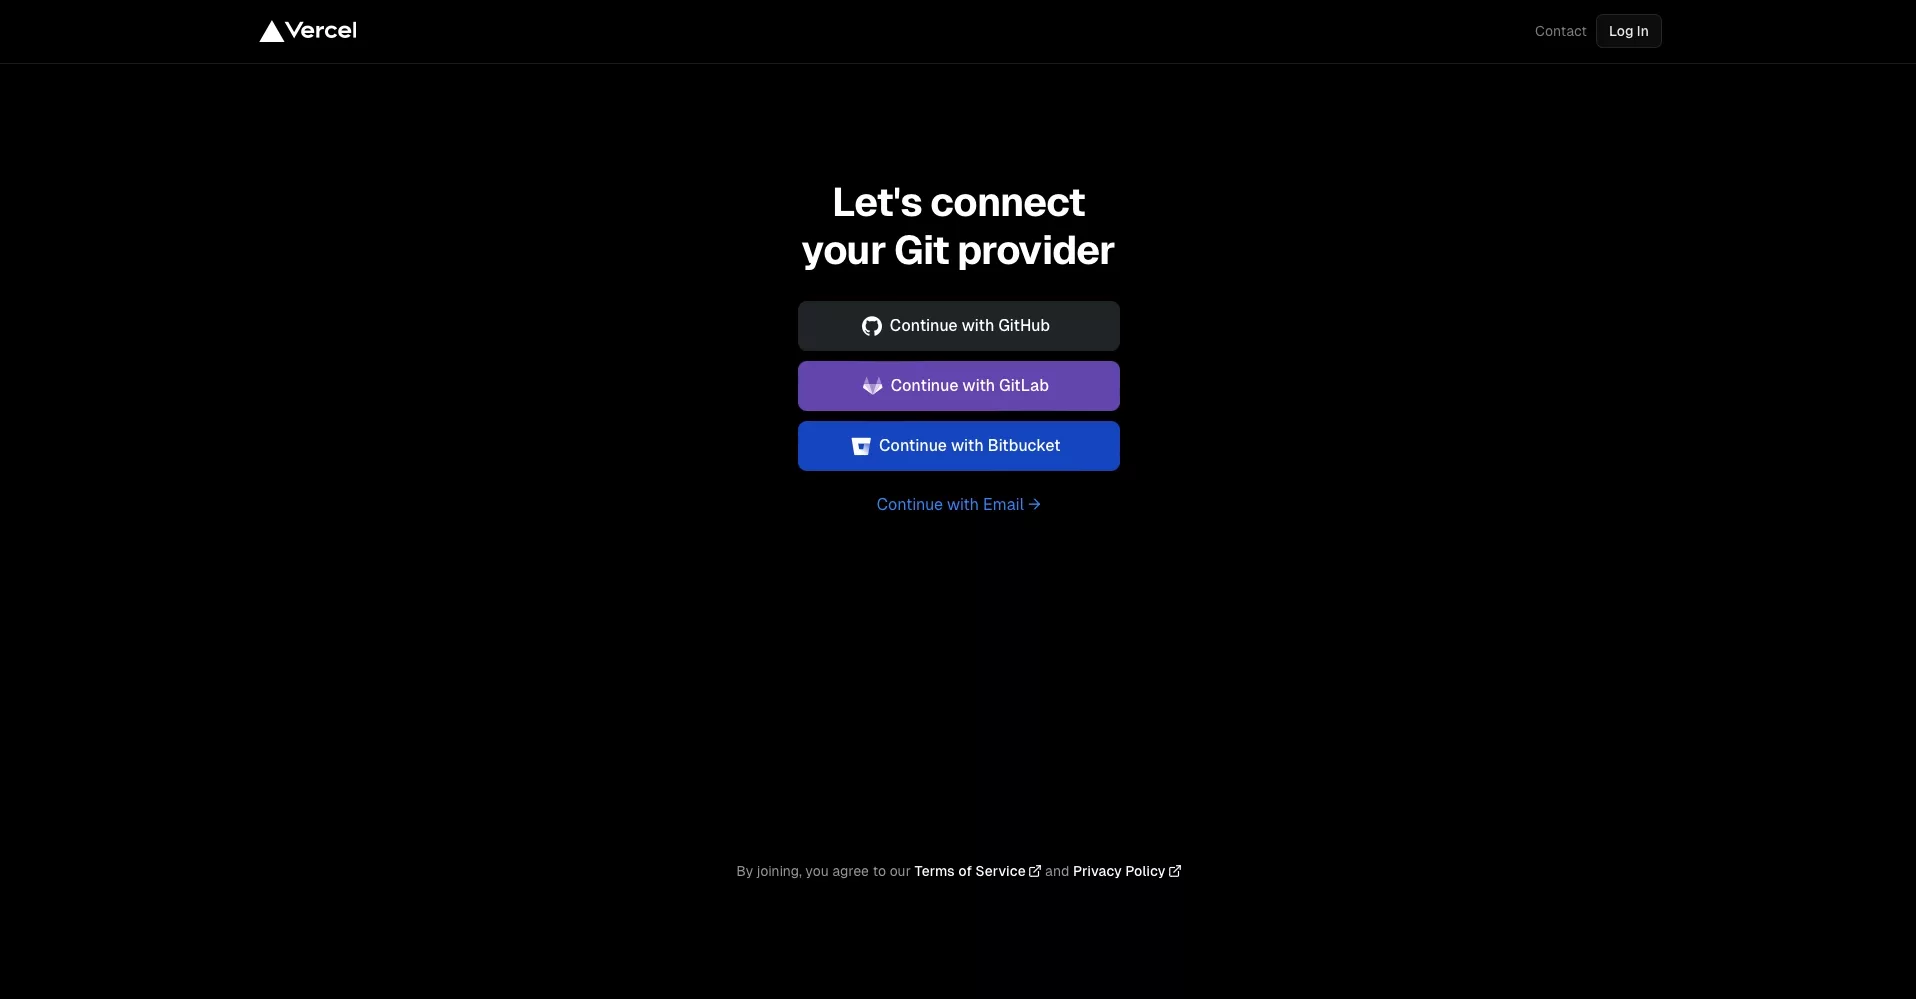
Please note that as part of this tutorial, we connected via a Git provider.

Step Three: Install Vercel on the Git Provider

A screenshot of the Vercel landing page after you sign in. Highlighted on the center left of the screen under "let's build something new" is a "Install" button. Click it and complete the import git repo flow.

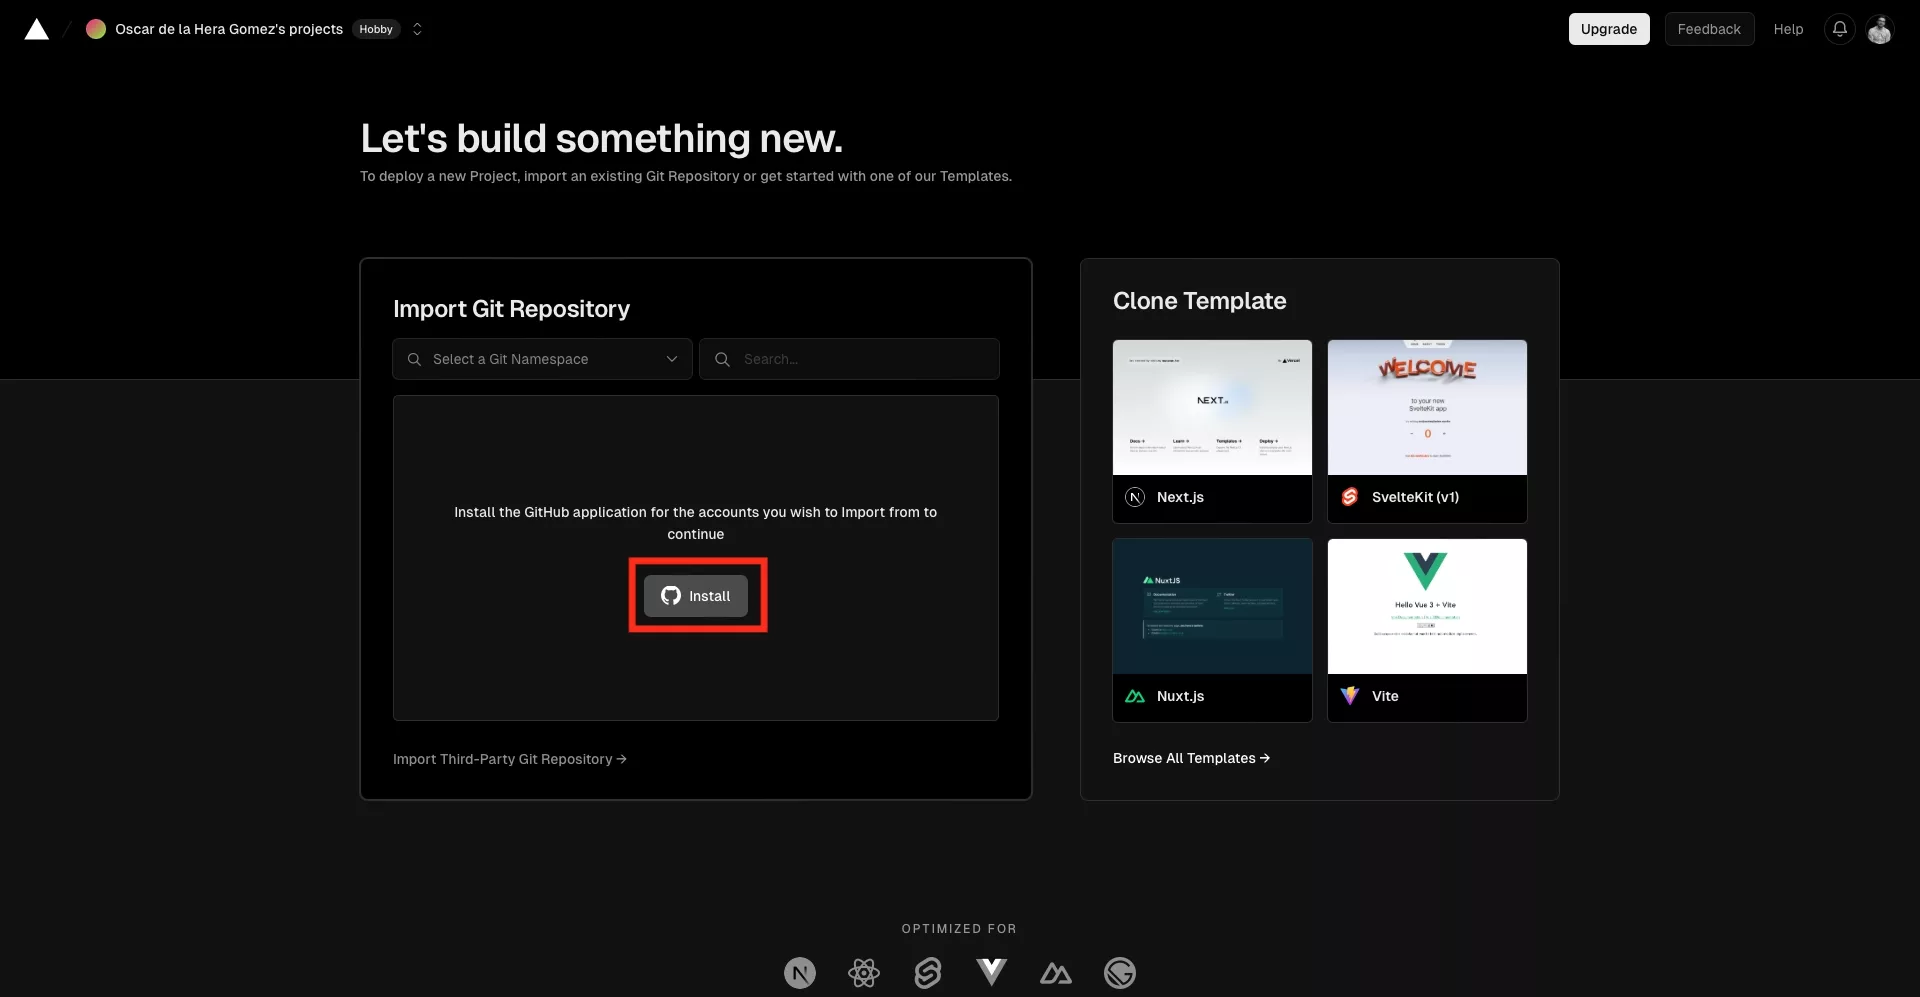
Skip this step if you have already installed Vercel and configured it to work with your git provider.

Under Import Git Repository, click Install.

A screenshot of the Vercel install flow asking you to select the account where you wish to install Vercel.

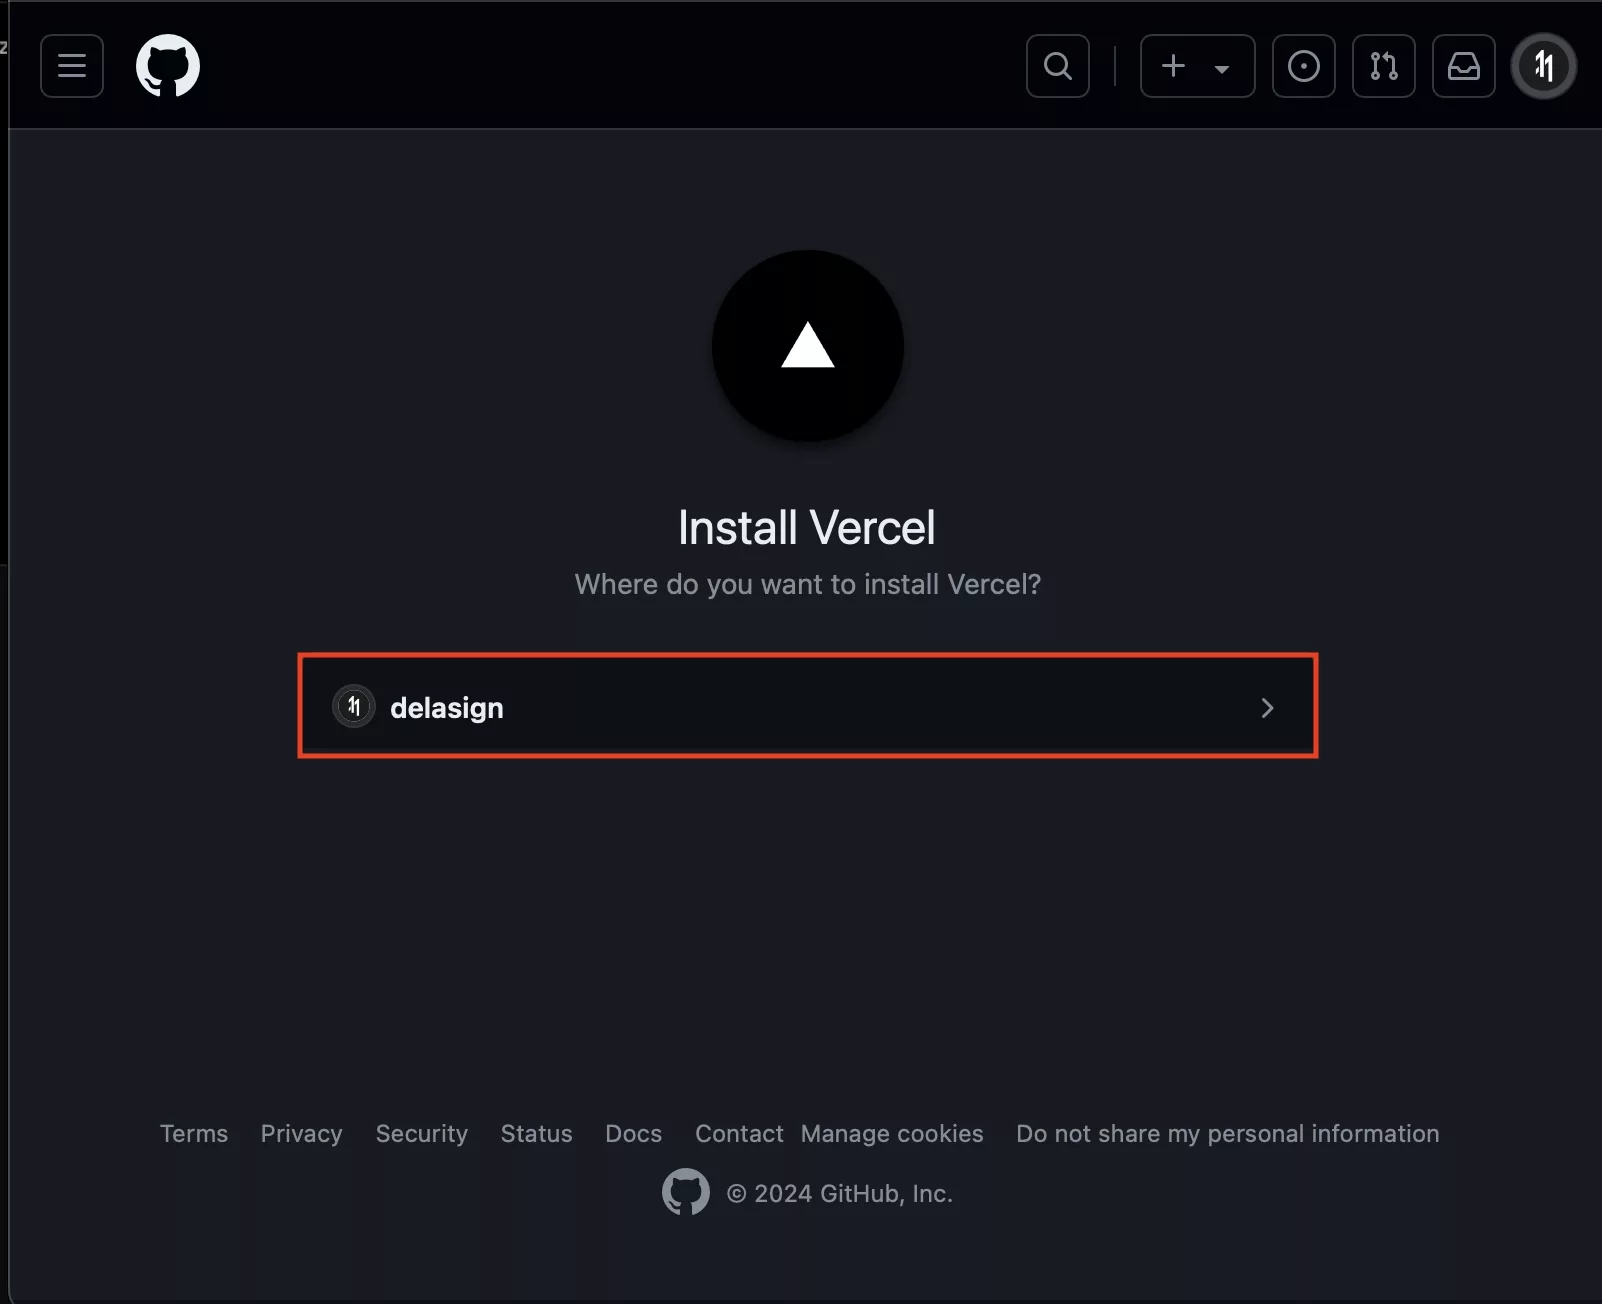
First select the account that you'd like to install Vercel on.

A screenshot of the Github Vercel configuration page.

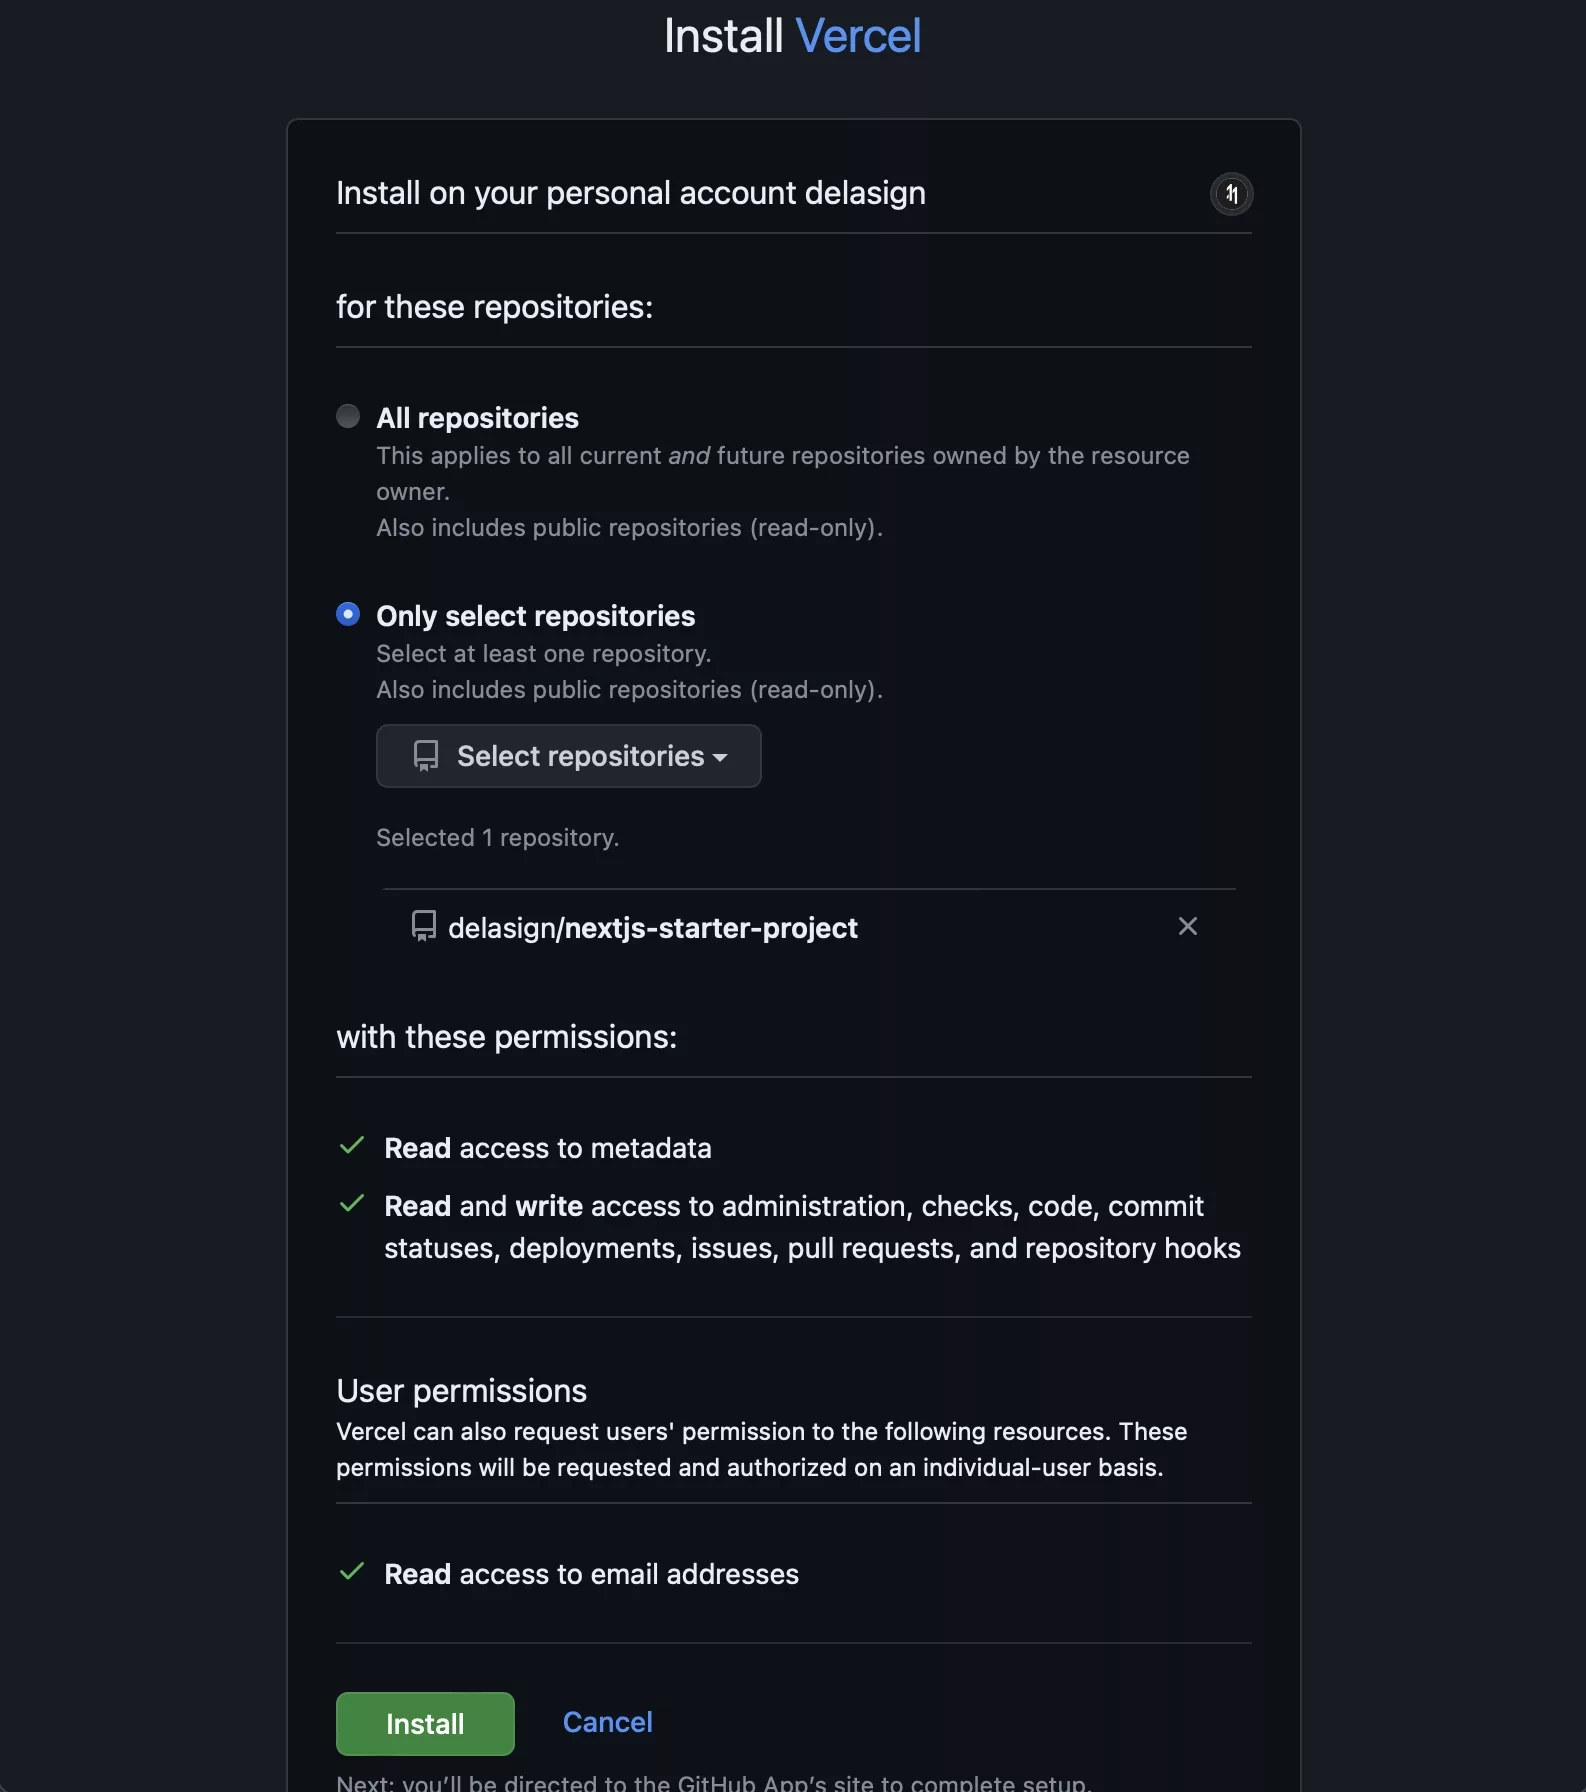
Subsequently configure that account.

Please note that we recommend that you only use select repositories.

A screenshot of the end of the flow that lets you know that "GitHub Installation Completed. This window will close automatically."

Finally, authenticate the installation using a password or passkey.

Step Four: Import Git Repository

A screenshot of the Vercel landing page showing an "import" button next to our open source nextjs repository.

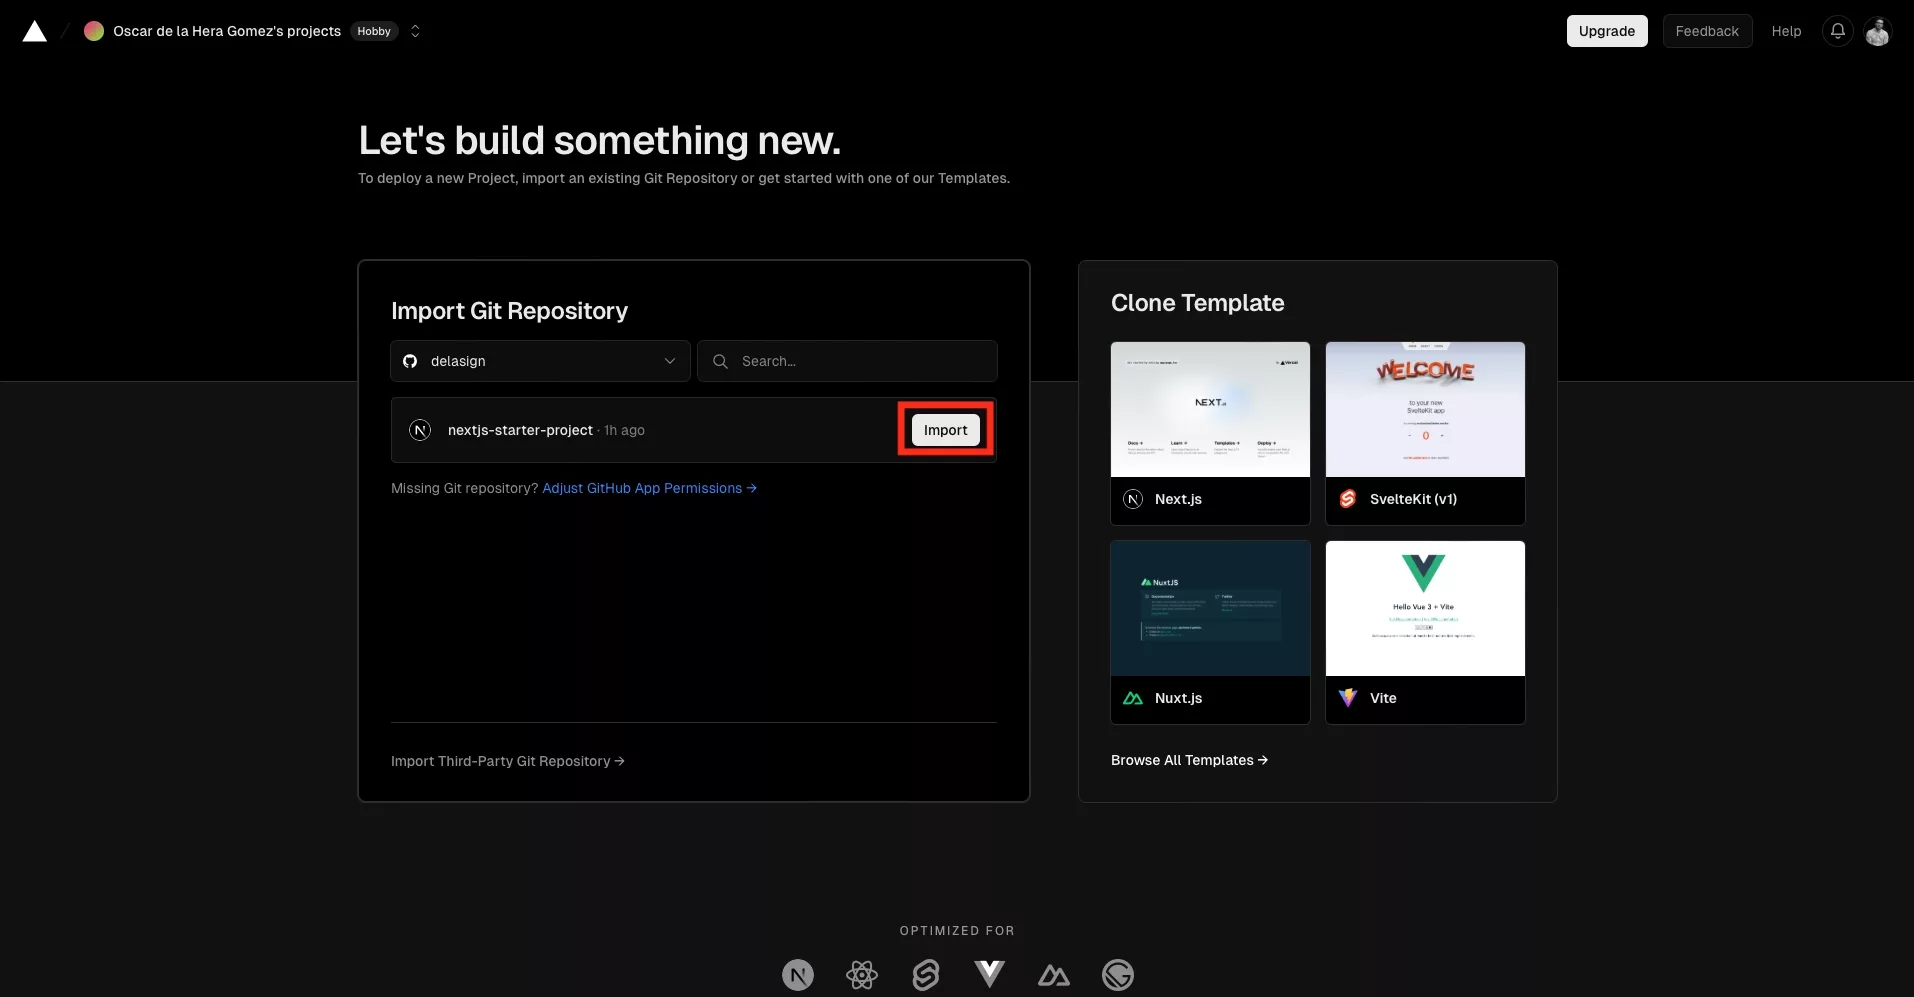
Import the NextJS. Git repository.

Step Five: Configure & Deploy

A screenshot of the project configuration screen that occurs after you import a repository.

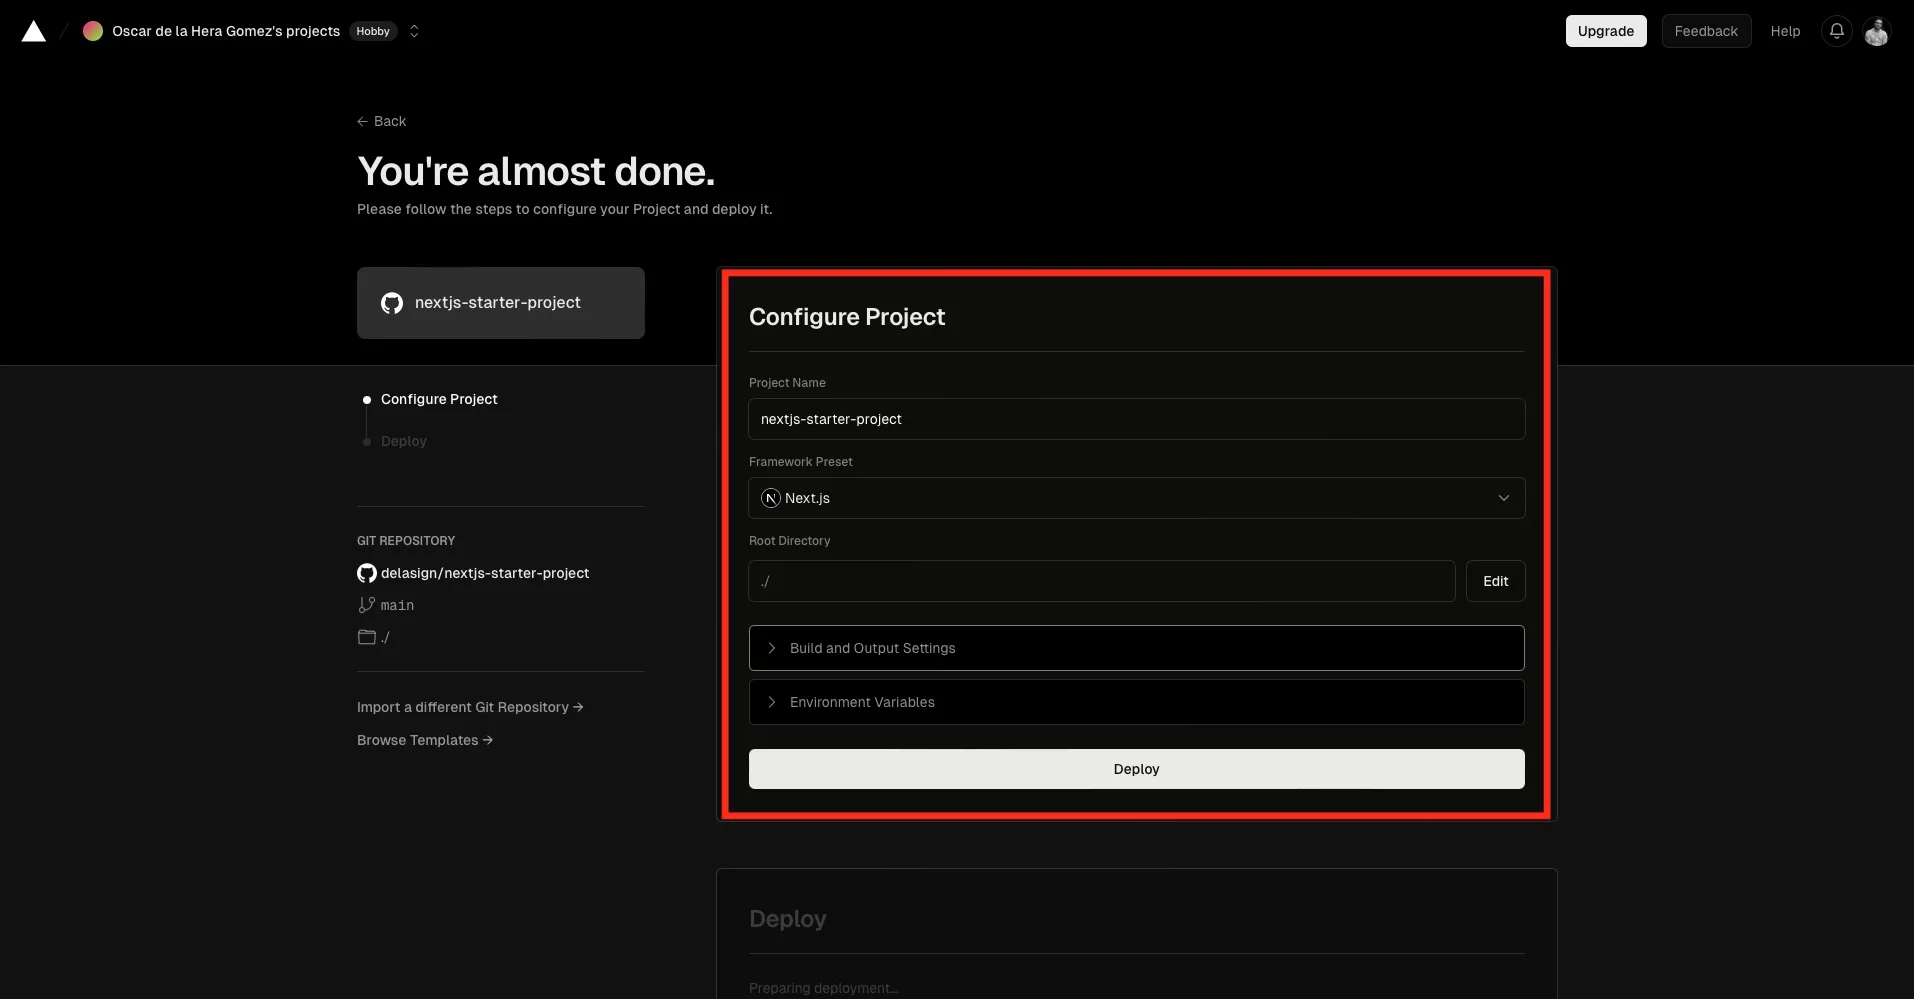
Configure the project and click deploy.

A screenshot of the Vercel configure flow with the "Environment Variables" tab open.

Please note that you can add environment variables to your project as part of this step.

A screenshot of Vercel showing how a project builds.

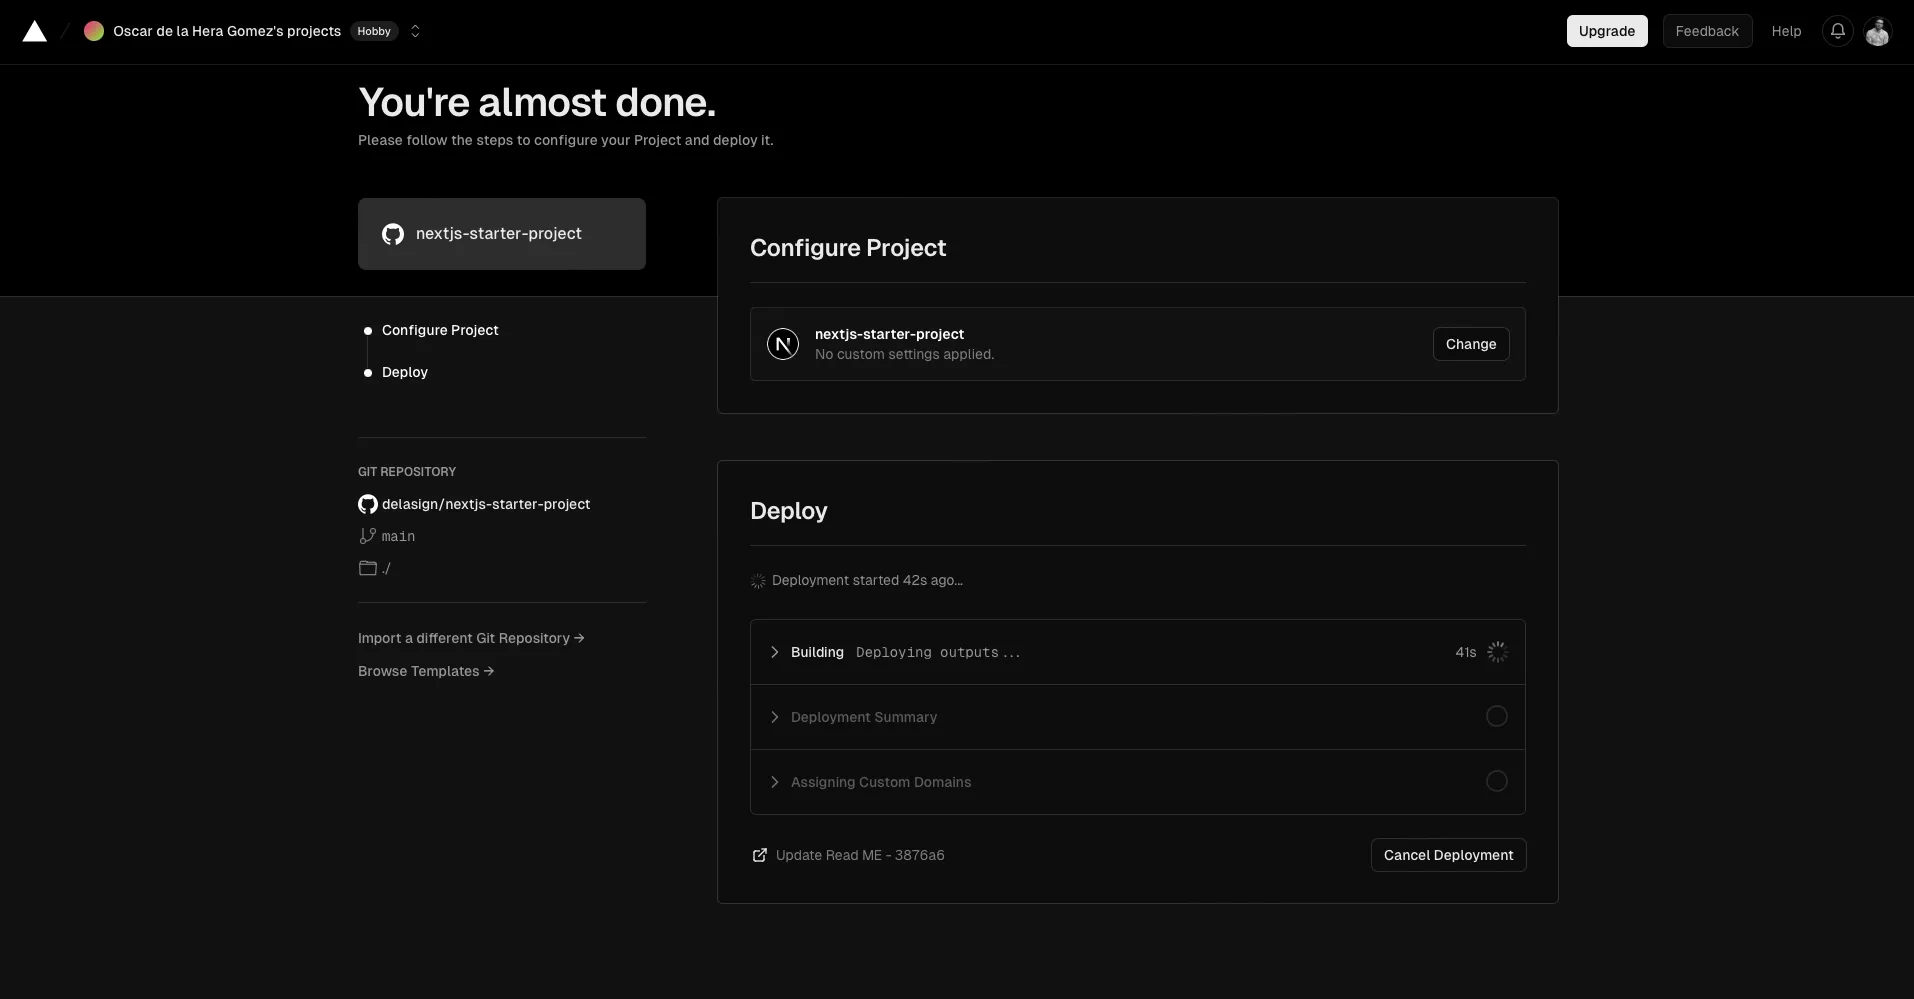
The build process will look similar to the above.

Step Six: Access the App

A screenshot of Vercel showing the screen that appears after you successfully deployed a NextJS app. Highlighted on the screen is the screenshot of the deployed website which if you click, takes you to the URL of the deployed website.

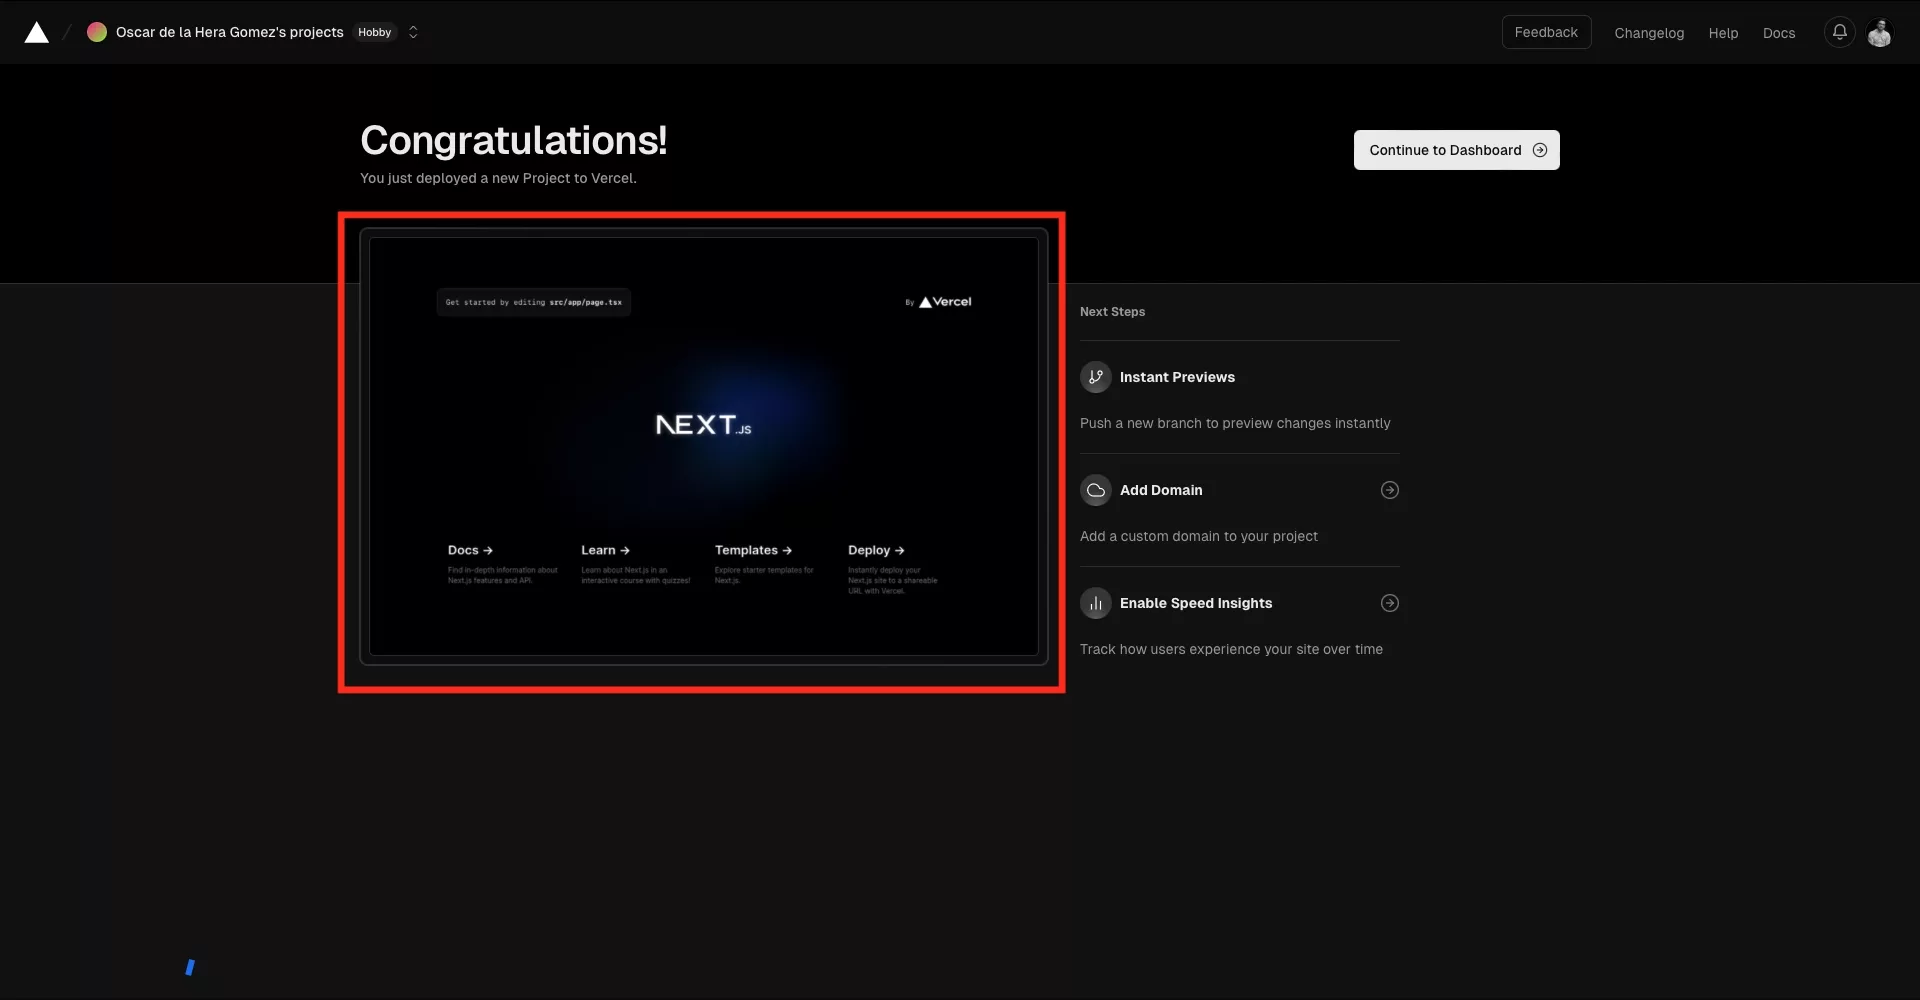
Click the tile below Congratulations to be taken to the URL of the deployed NextJS app.

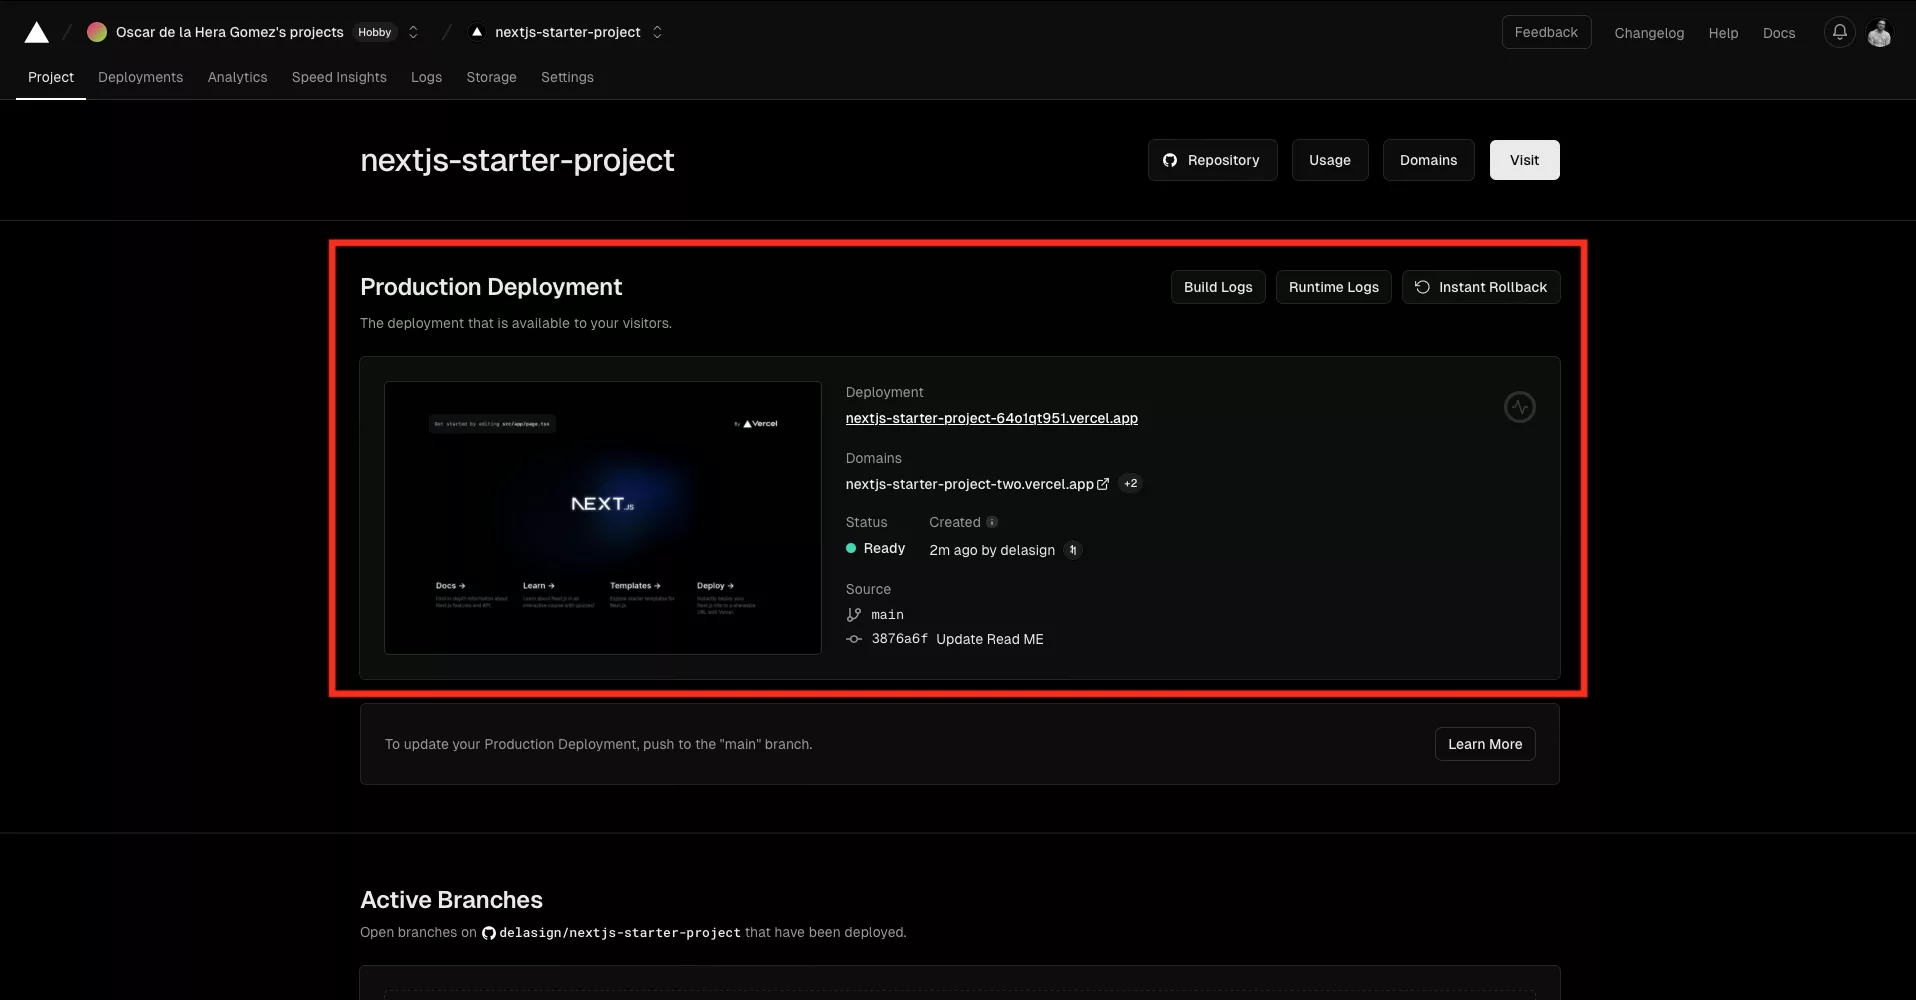
In the event that you click Continue to Dashboard, you can find the link to the deployed NextJS app in the tile titled Production Deployment.

A screenshot of the Vercel project dashboard. highlighted is the "Production" tile where you can find the links to the deployed nextjs app.

Looking to learn how to deploy branches or updates?

Consult the links below to learn how to deploy branches, manually redeploy or deploy code updates to a NextJS project.

Looking to learn more about NextJS, ReactJS or web development?

Search our blog to find educational content on NextJS, ReactJS and web development.

Any Questions?

We are actively looking for feedback on how to improve this resource. Please send us a note to inquiries@delasign.com with any thoughts or feedback you may have.
delasign logo

Book a Free Consultation.

An icon of an email.

Click here to email us.

Fill in the details below to book a free consultation or to let us know about something else. Whatever it is, we are here to help.

How can we help you ?

Contact Details