
How to create and use environment variables in an .env file in NextJS

A step by step guide on creating a .env file, defining environment variables and using them in a NextJS project.
Step One: Create the .env file
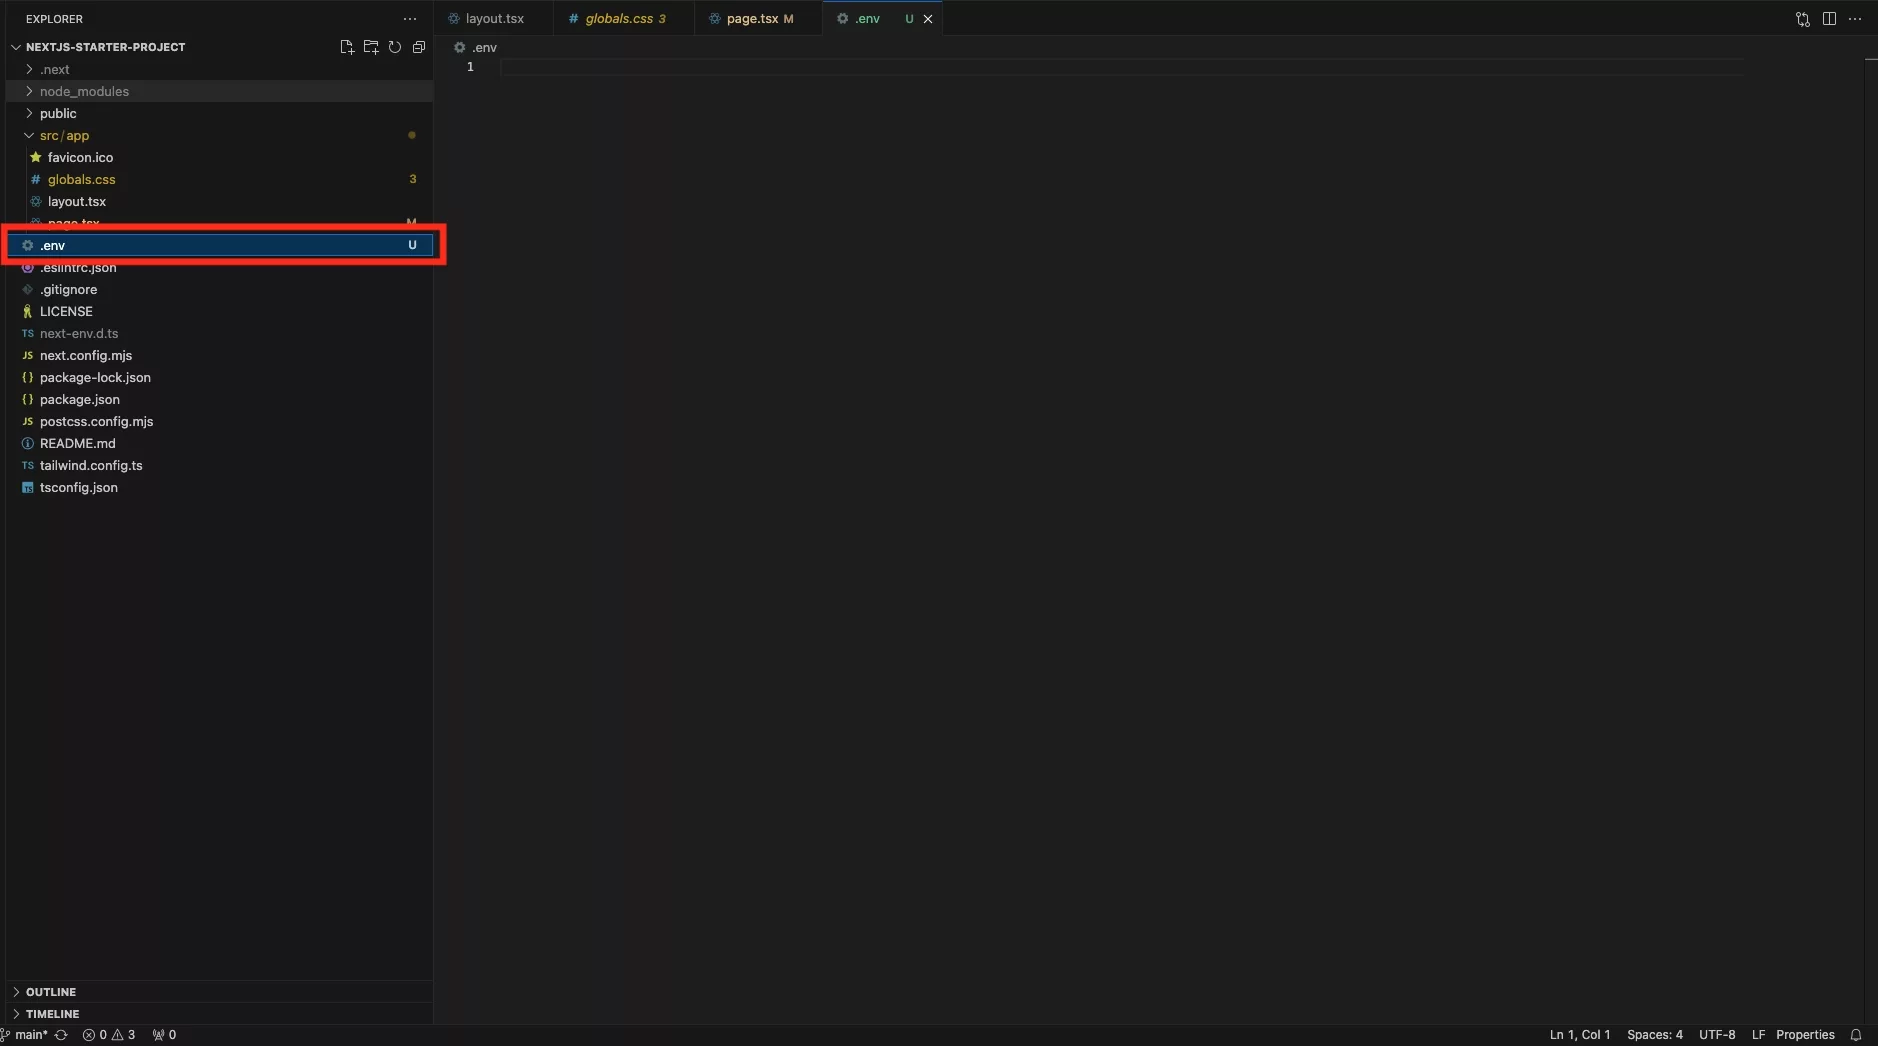
At the root of the project, create a new file called .env.
Step Two: Define the Environment Variables
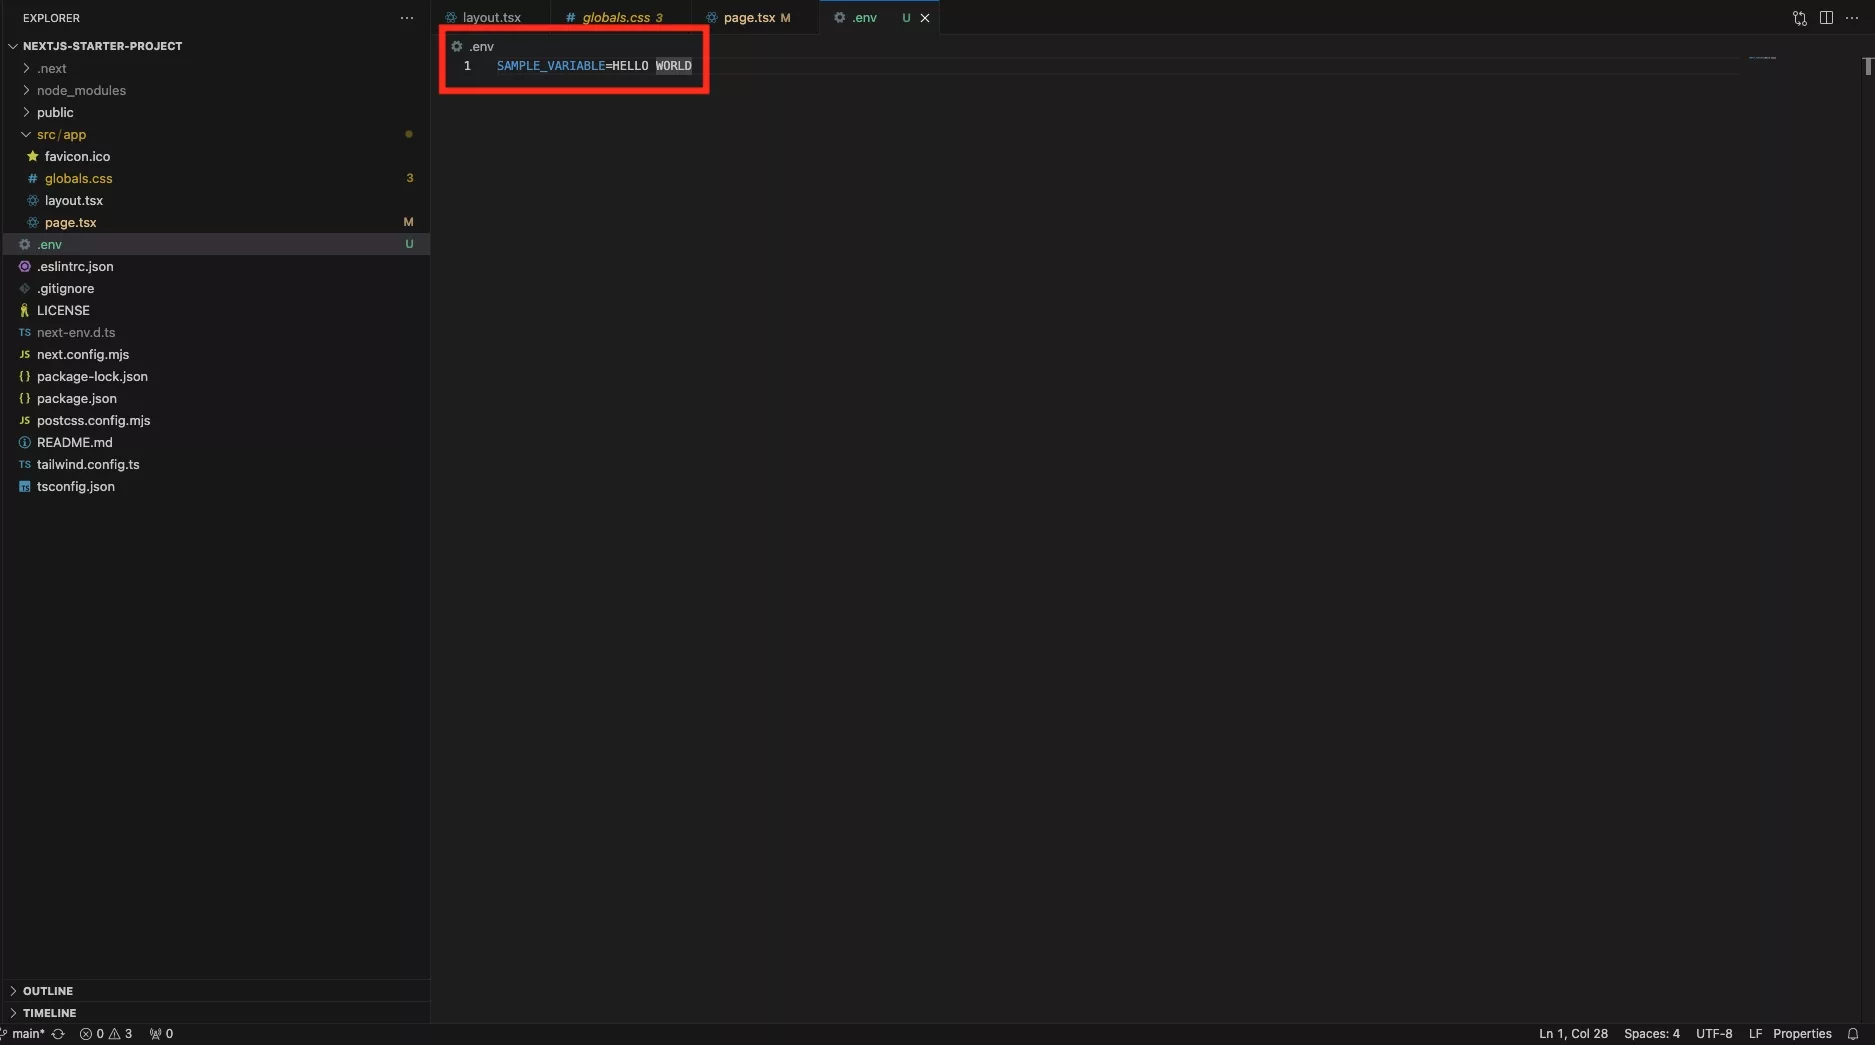
In NextJS, environment variables can be called whatever you like.
Please note that if you wish for the environment variable to be available in the client you must use NEXT_PUBLIC_ prefix.
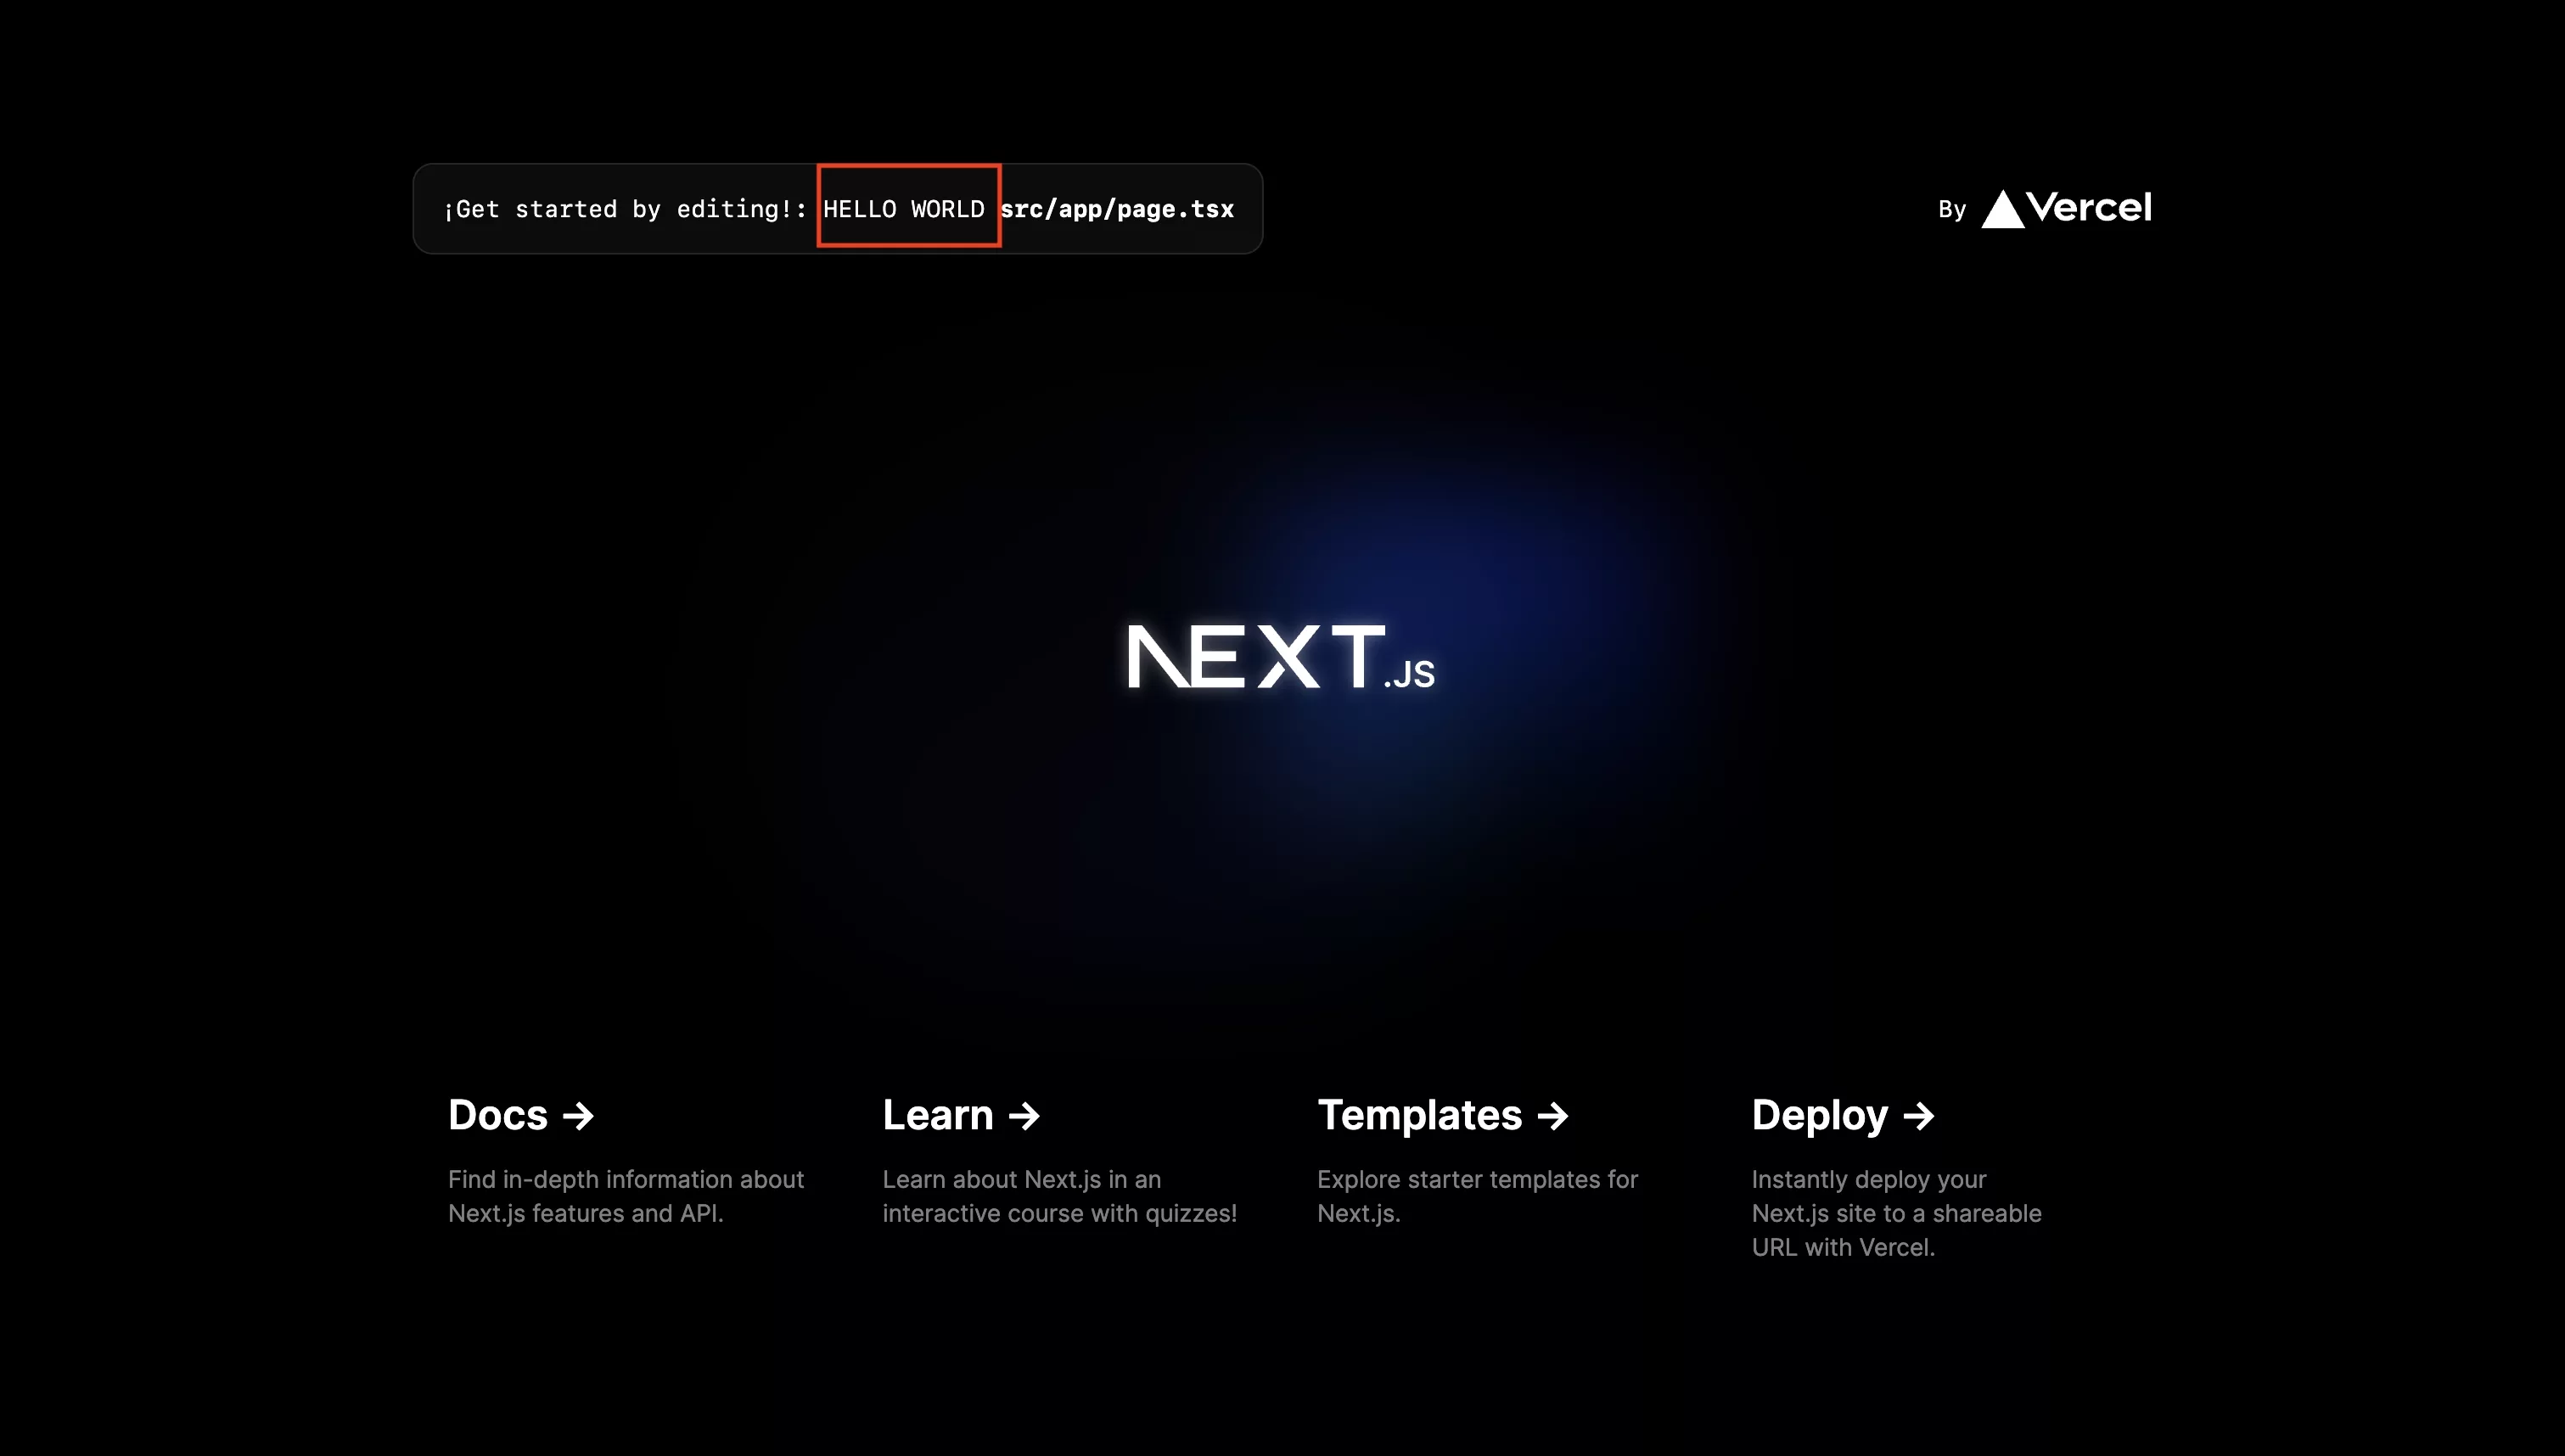
Step Three: Use the Environment Variables
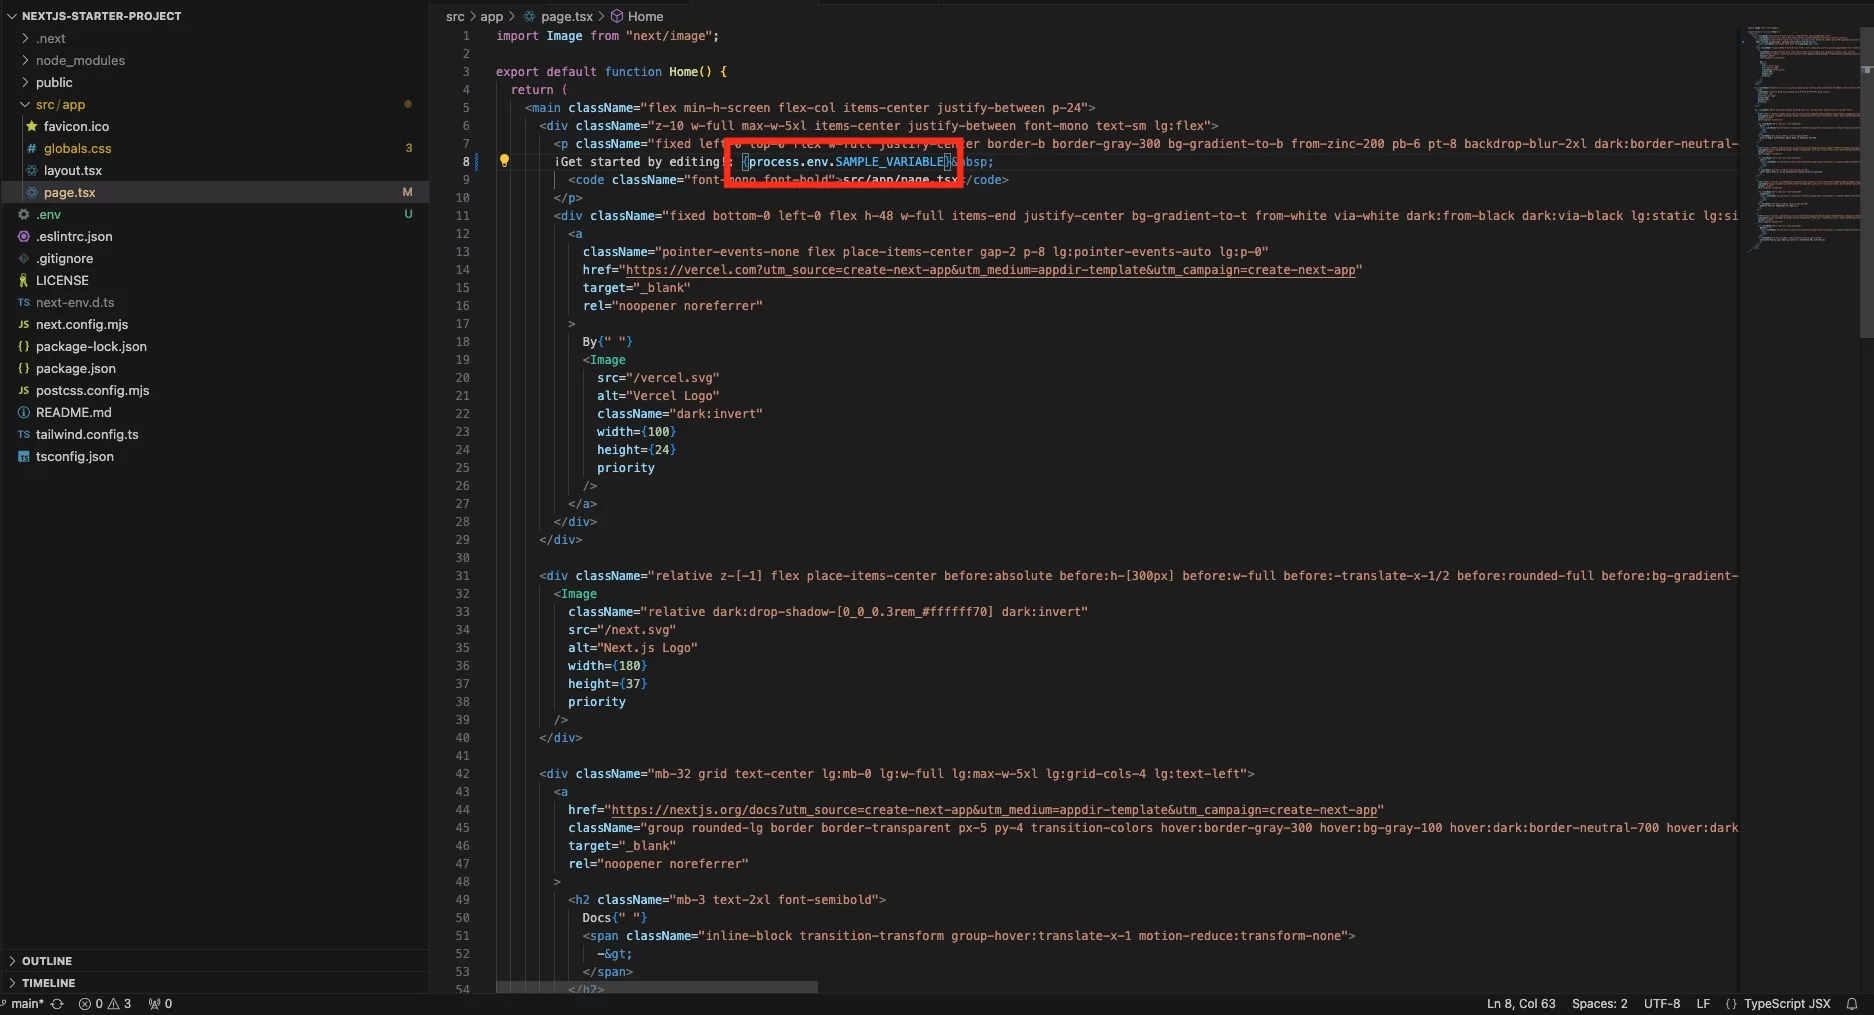
Within your project you can use environment variables through the syntax process.env.VARIABLE_NAME.
In the example above, we used process.env.SAMPLE_VARIABLE as that was the variable that we defined in Step Two.
Step Four: Run
Confirm that everything works as expected by running the project locally and deploying the change to Vercel.
Looking to learn more about NextJS, ReactJS or web development?
Search our blog to find educational content on NextJS, ReactJS and web development.