
How to create and use aliases in NextJS

A guide for setting up, creating and using aliases in NextJS.
Please note that Aliases come setup out of the box when creating a new NextJS project.
Step One: Update the tsconfig.json

Update the tsconfig to include a baseUrl ("./src") and any relevant paths.
Step Two: Implement
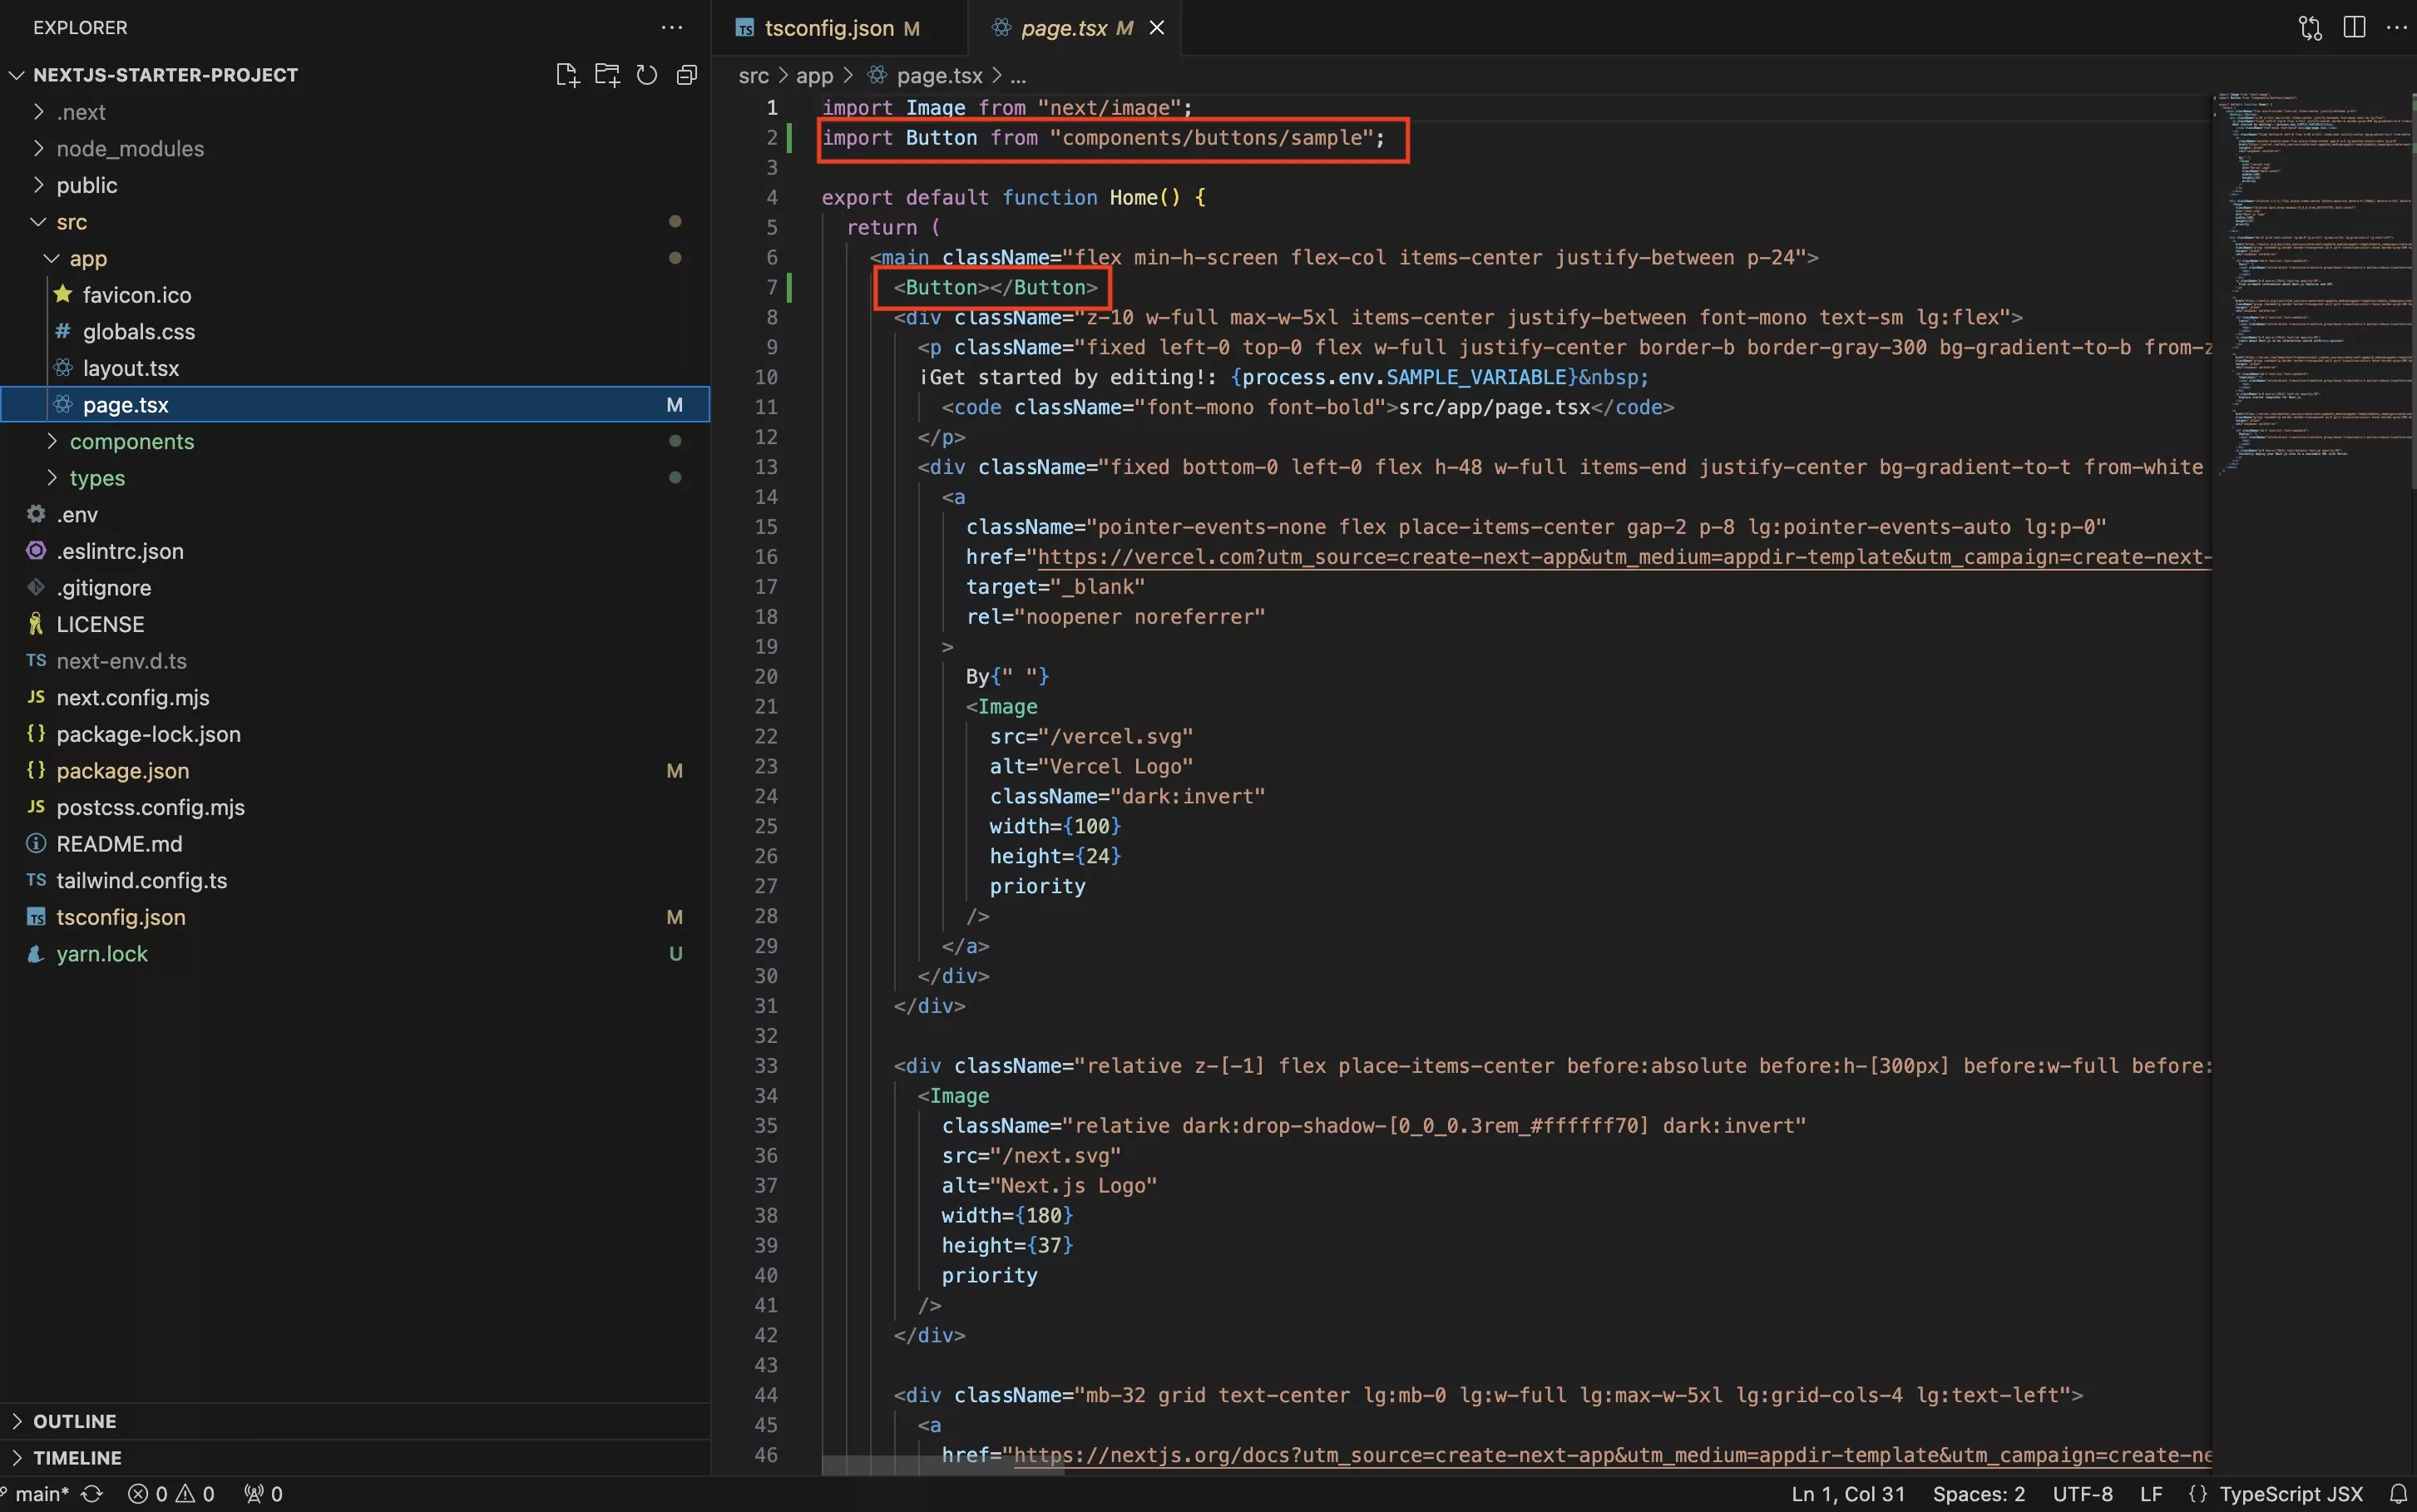
Import a new file or update the import of an existing file to use the alias.
Step Three: Test
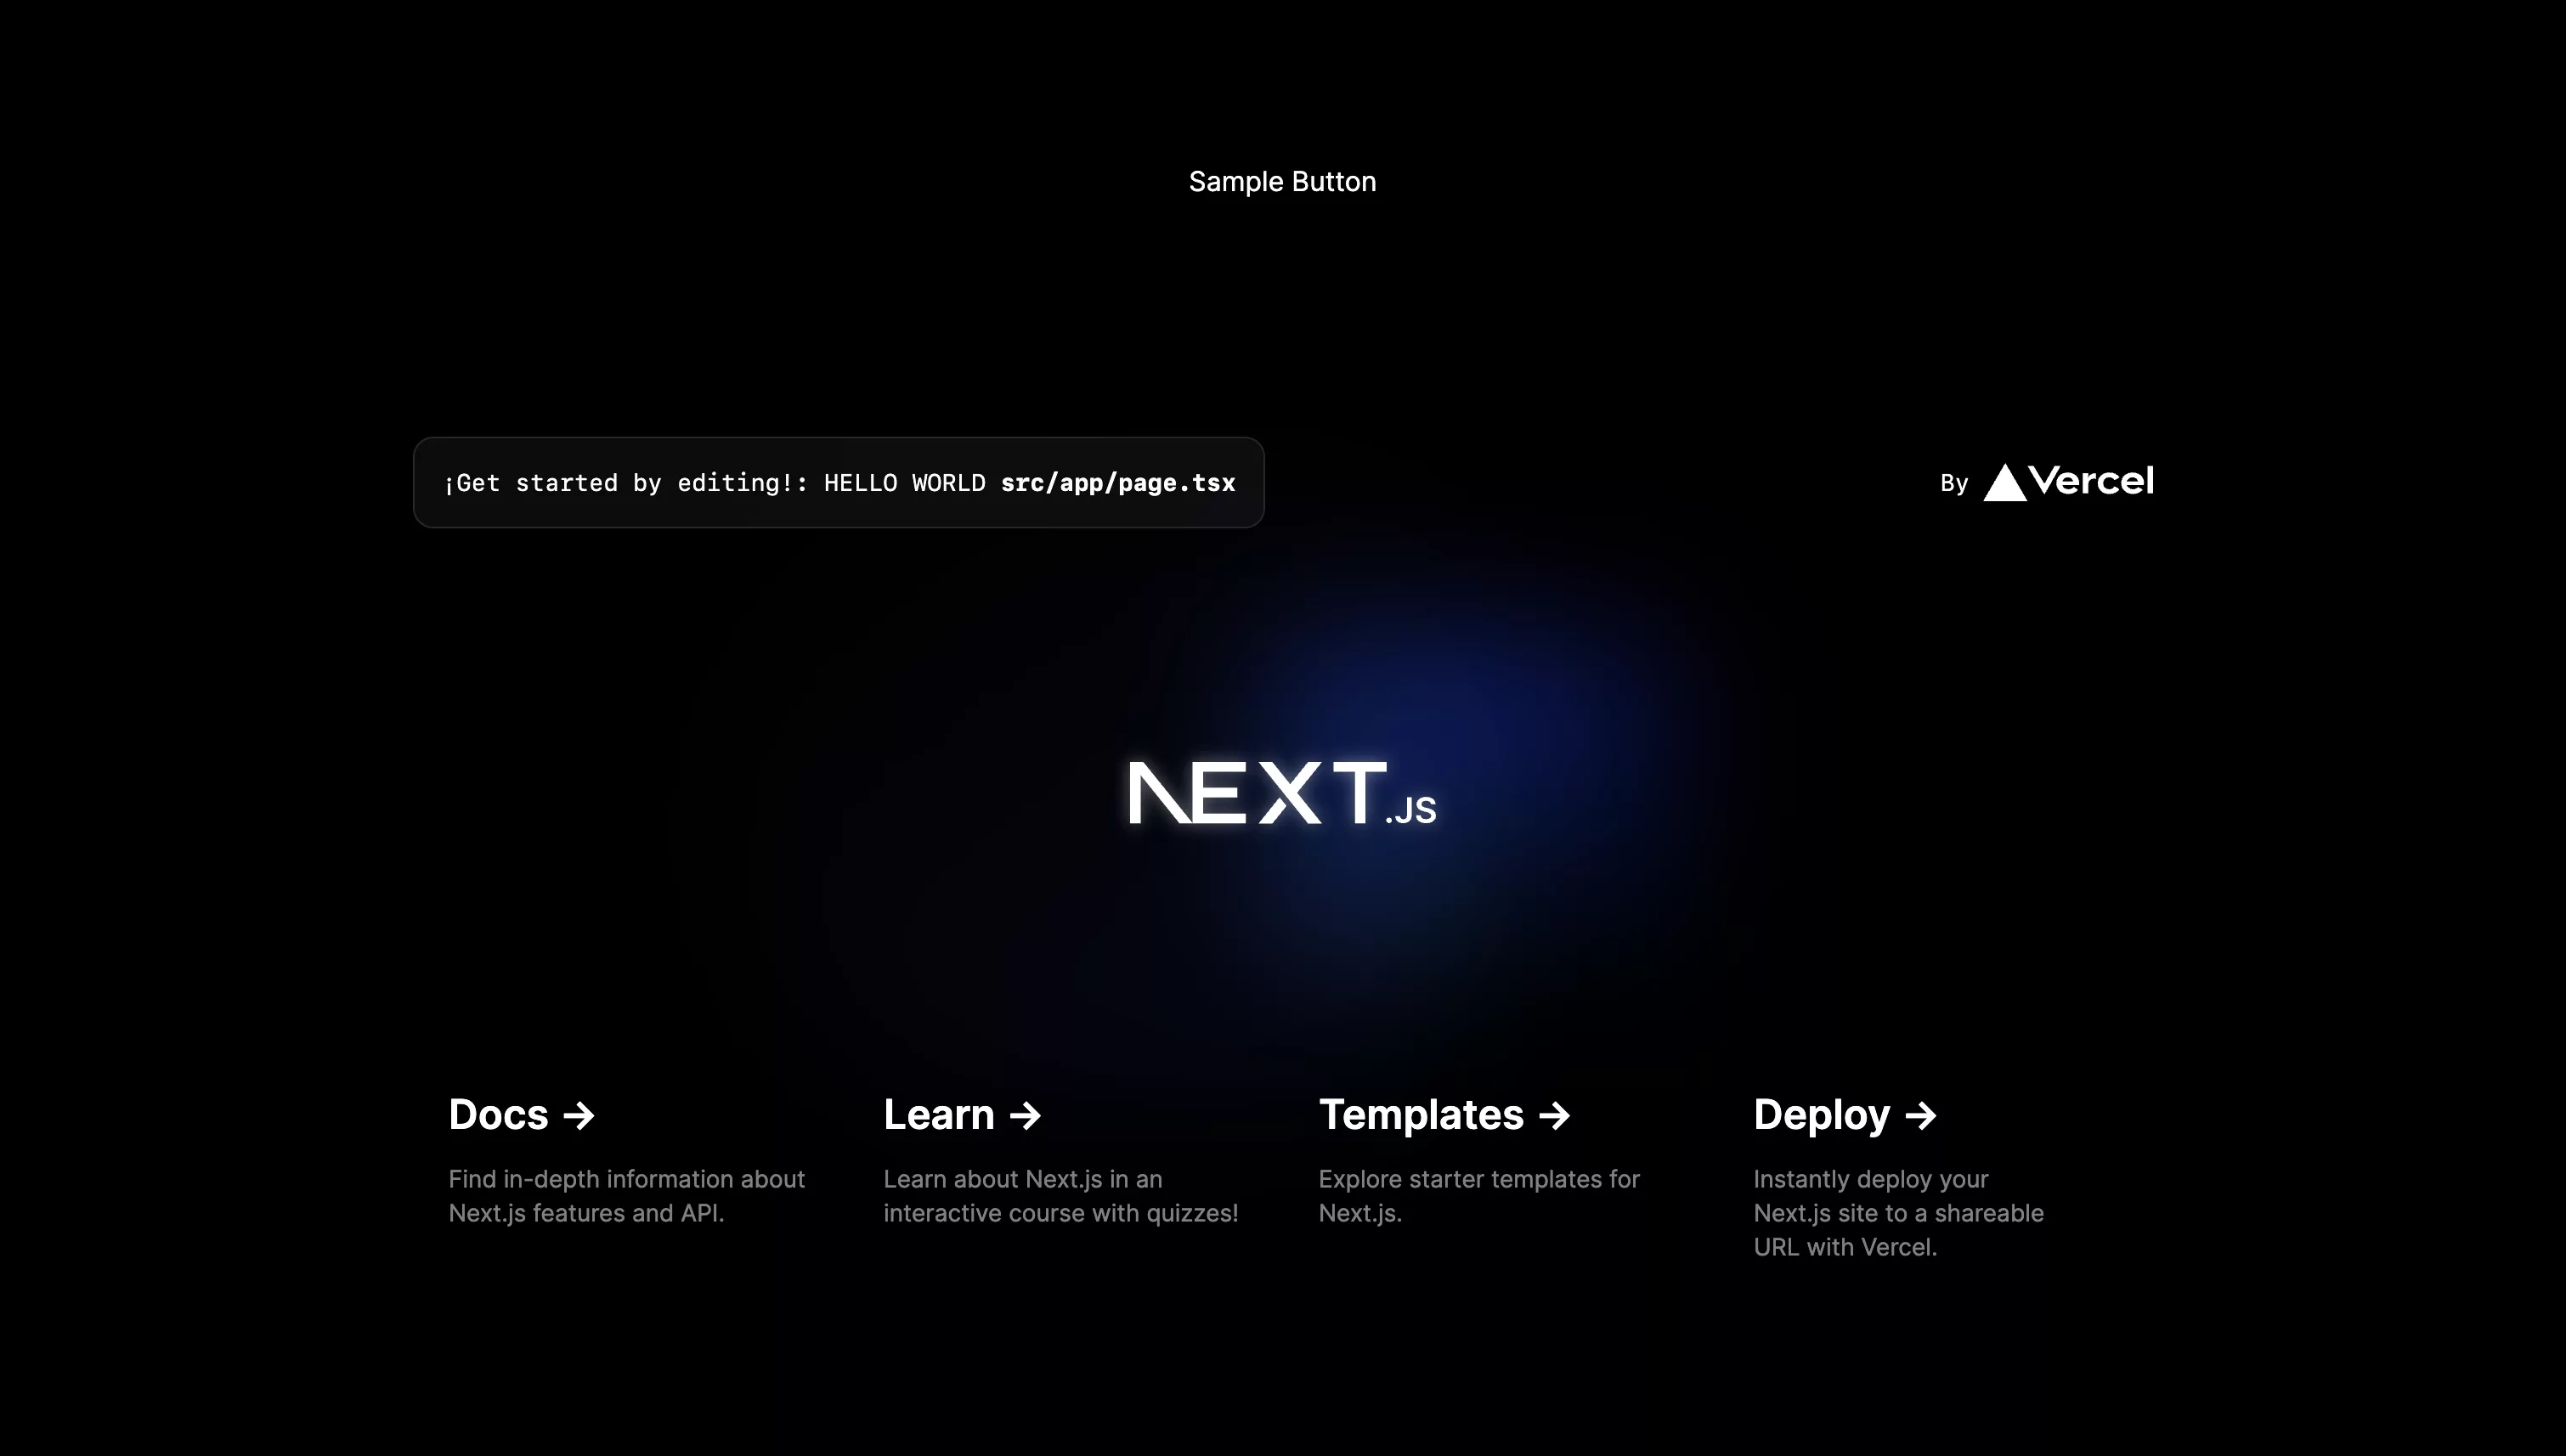
Run the app locally or deploy to Vercel to confirm changes.
Looking to learn more about NextJS, ReactJS or web development?
Search our blog to find educational content on NextJS, ReactJS and web development.
Any Questions?
We are actively looking for feedback on how to improve this resource. Please send us a note to inquiries@delasign.com with any thoughts or feedback you may have.